Armour Artillery and Infantry Fire Fights and Battles
Outline of Volume 1
4 May 41: “What we experienced in Poland and on the Western Front was only a promenade in comparison!”
Leutnant Joachim Schorm, 6. Kompanie / Panzer Regiment 5
(WO 169/1437)
The battles and withdrawals of 2nd Armoured Division (commanding the few units left within 2nd Support Group and 3rd Armoured Brigade), under pressure from the German 5. leichte Division were complicated by the task to protect the open flanks of the Australian infantry from 20th and 26th Brigades who had barely enough transport to hand to enable their withdrawal. The battles and withdrawals have not been explored in depth and breadth during the last 73 years. Volume 1 addresses this with eye witness accounts, some known but many new to print, that are often at a Platoon, Section or Gun crew level, and it includes a large amount of previously unpublished detail from War Diaries.
Mersa Brega, on the 31st March 1941, was the first British battle with German ground forces in North Africa, but despite this it is usually described in less than half a page, and under described as a reconnaissance in force. It was a small but epic battle in which the 2nd Support Group fought the forward units of 5. leichte Division for more than twelve hours. The 3rd Armoured Brigade was not part of the first battle despite an initial fire fight involving four A13 Cruisers from the 5th Royal Tank Regiment at 0630 hours. 20th Brigade were also not present having pulled back a week earlier to positions covering the escarpment 15 miles east of Benghazi.
The decision in February to send troops to support Greece (under the command of W Force being assembled in Egypt) had led to 2nd Armoured Division losing two armoured regiments of 1st Armoured Brigade (4th Hussars and 3rd R.T.R.), and all except the 1st Battalion, Tower Hamlets Rifles (9th Battalion, Rifle Brigade) and H.Q. elements from 2nd Support Group. However, the few units of 2nd Support Group held the area of Mersa Brega for some 12 hours before withdrawing as planned to their next positions.
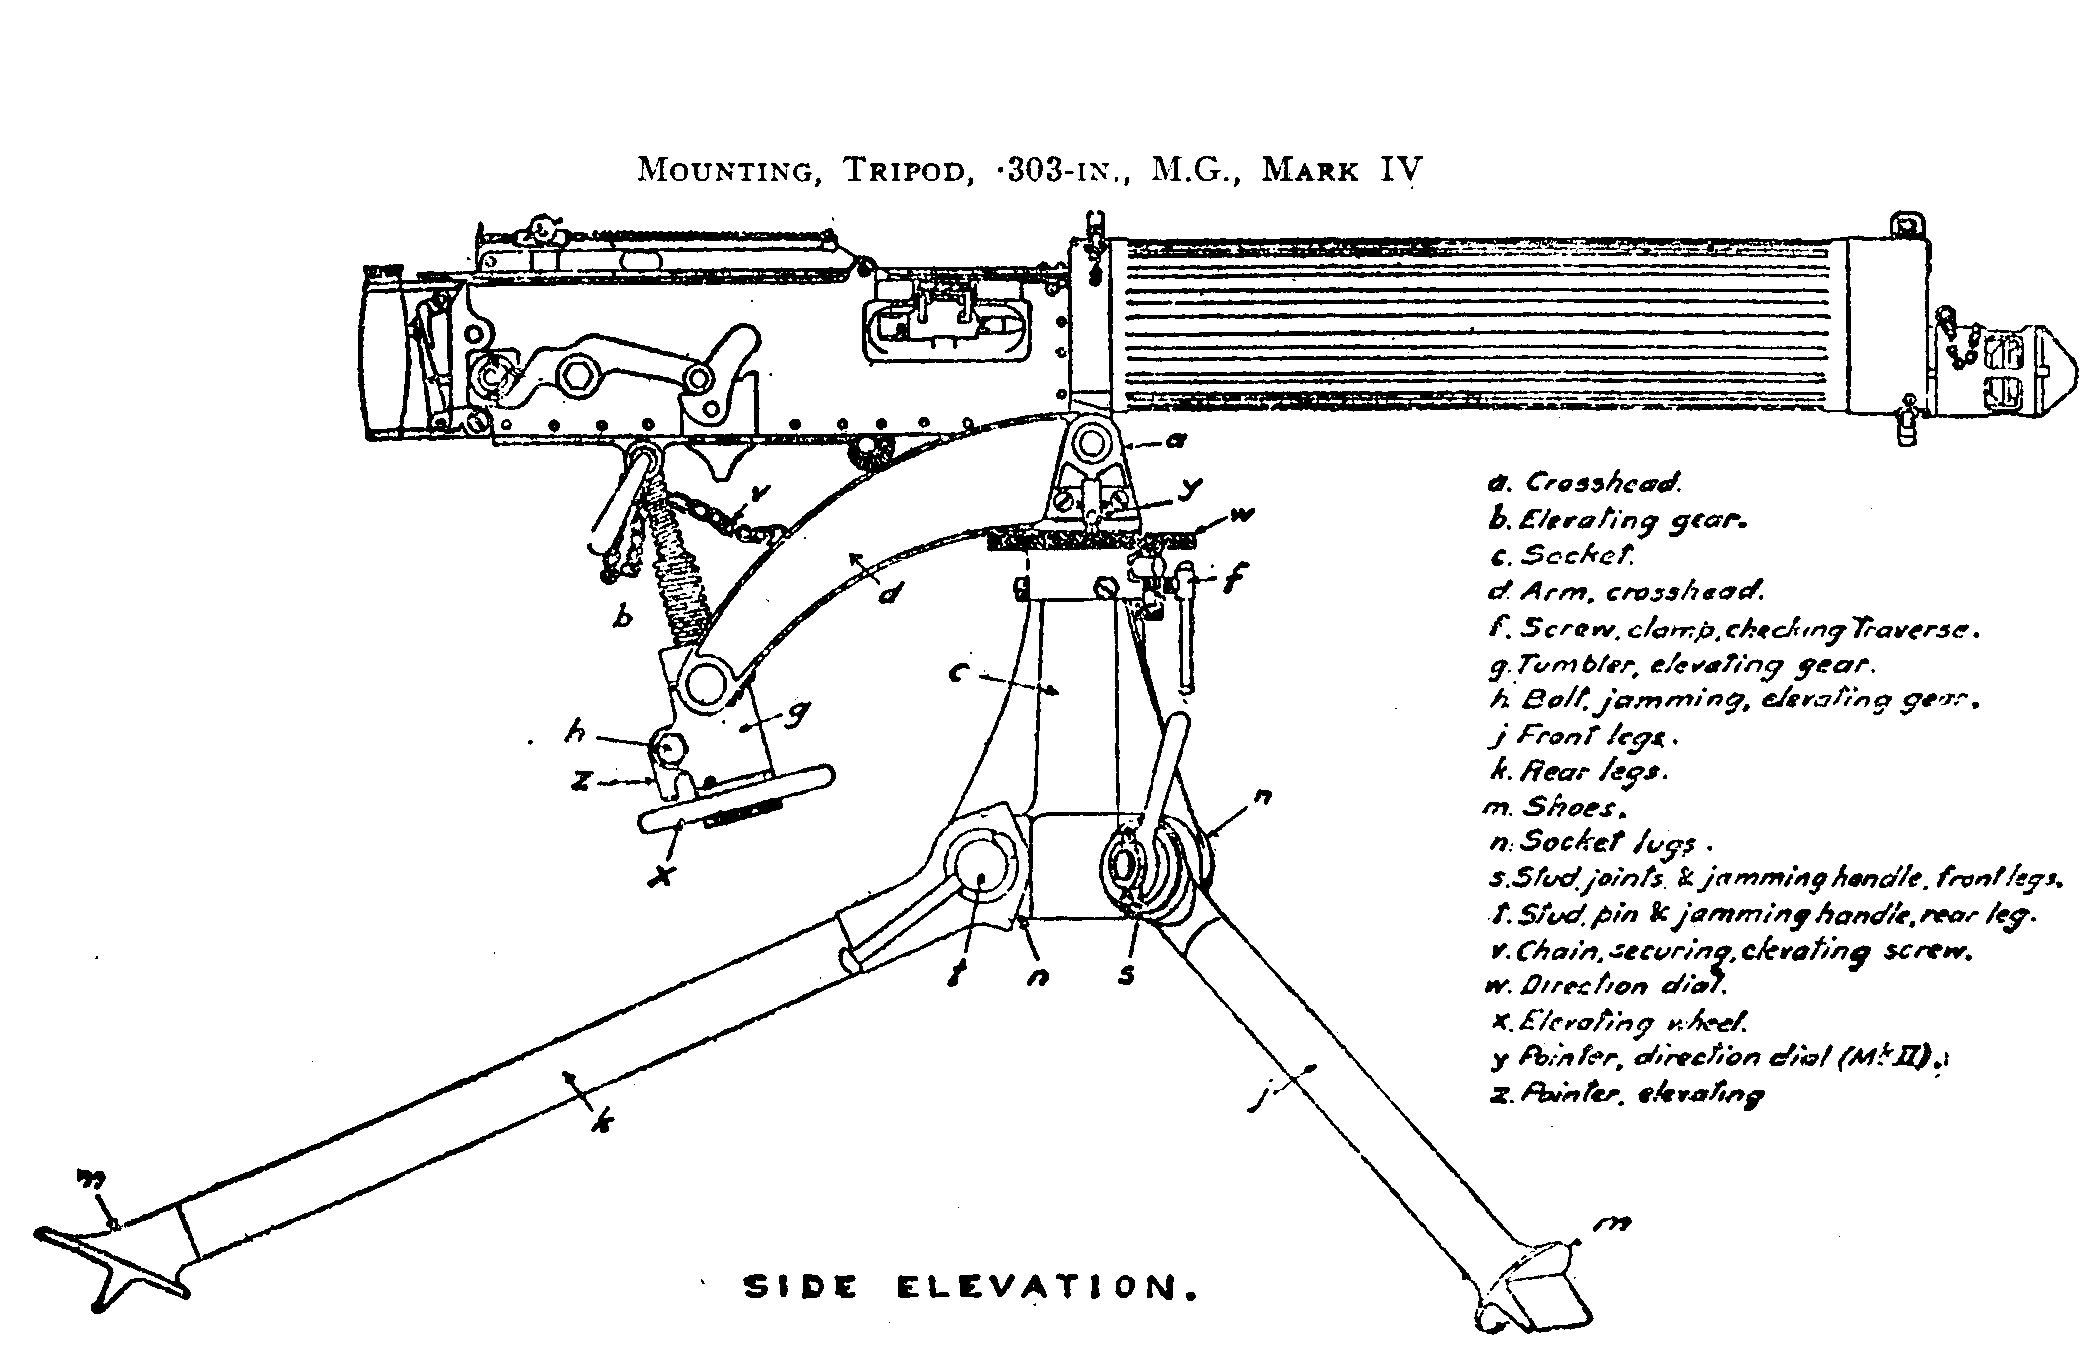
When H. Q. 2nd Support Group and the 700 plus Riflemen of the 1st Tower Hamlets Rifles came forward from Egypt, they took over the positions at Mersa Brega from the three battalions of 20th Brigade. They were joined by the twelve Vickers Medium Machine Guns of ‘Y’ Company of the 1st Royal Northumberland Fusiliers. The 1st T.H.R. was however, short of ‘D’ Company left back at Agedabia to prepare positions. The men at Mersa Brega were joined by a hundred or so Marines of the Free French 2e Companie, 1er Batallion d’Infanterie de Marine, sixteen 25 Pounders (25-Pdrs) of the 104th (Essex Yeomanry) Regiment, Royal Horse Artillery , and nine 2-Pdrs and three 37mm Bofors Anti-Tank Guns of ‘J’ Battery, 3rd R.H.A. Some of these arrived just days before the battle. The need to retire 2nd Support Group and 3rd Armoured Brigade had been worked out before the battle but the intention was to hold the area of Mersa Brega and deny the road to Agedabia and Benghazi for as long as possible against German led Axis troops that included 5. leichte Division commanding Panzer Regiment 5. This regiment commanded the I. and II. Abteilungen (1st and 2nd Battalions) with over 150 panzers between them. The division also included nearly 3000 heavily armed Schützen of two Maschinengewehr Bataillone (Machine Gun Battalions).
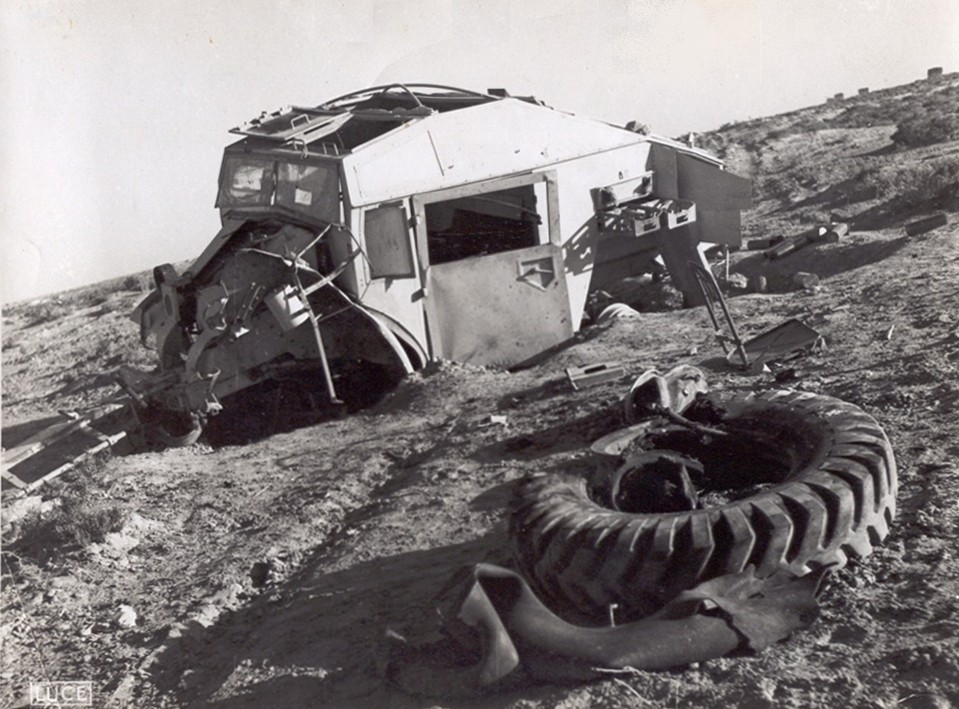
The few operational tanks of 3rd Armoured Brigade were some miles to the south of Mersa Brega awaiting to confront an outflanking manoeuvre and preparing to attack the open flank of any German advance. The lightly armed and armoured Marmon-Herrington armoured cars of the King’s Dragoon Guards were patrolling to the west and south, observing and reporting on Axis activity by radio to the Brigade, 2nd Support Group and Divisional H.Q.
During the 31st March, not all of 5. leichte Division was committed to the battle, but the K.D.G. and 2nd Support Group were confronted by increasing German force that eventually included numbers of panzers from the II. Abteilung of Panzer Regiment 5, and at least one Maschinengewehr Bataillon of some 1200 plus Schützen. The schützen were so numerous that they appeared to be two battalions strong according to the experienced Regular soldiers of ‘Y’ Company, 1st R.N.F. The battle was hard fought and positions were held in the face of panzer and infantry attacks of which the first two were halted under 25-Pdr fire forcing the Germans to reform and attack a third time and last time. Withdrawal from Mersa Brega became necessary during the last attack that was led in by one of the Maschinengewehr Bataillone attacking along the sea flank against the four Vickers of 11 Platoon 1st R.N.F. and two under strength platoons (40 plus men) of the Tower Hamlets. Ammunition amongst the Vickers MMGs ran low after more than an hour of firing and panzers joined the last attack and drove onto the positions of the Riflemen and Fusiliers forcing them to pull back through the village and a rearguard covering their retreat. The panzers were soon amongst the anti-tank guns of the ‘J’ Battery who also pulled back.
In Volume 1, the minutes and hours of the fighting are covered in over 40 A4 pages of detailed action with maps of the positions.
An intriguing element of this first full battle with German ground units in Libya, is that the 1st T.H.R. and the 104th R.H.A. were mostly pre-war Territorials led by some Regular and ex-Regular officers. Some of those present had had recent combat experience against the Italian X Armata weeks before, but for many this was their first battle and first experience of German armour, infantry and air attack. The Germans for their part had recent combat experience in France (with 3. Panzer Division). It is remarkable that the action at Mersa Brega lasted 12 hours and that 2nd Support Group was able to retire despite some losses. Under the cover of night 2nd Support Group and 3rd Armoured Brigade took up previously chosen positions and prepared to face an onslaught next day, 1st April.
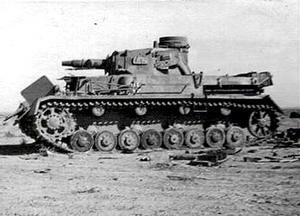
The War Diaries record no contact with German ground troops during the 1st April. The battle following the 31st March occurred on the 2nd April, close to Agedabia. Once again it involved the 2nd Support Group and eleven of the remaining operational A13 Cruisers of the 5th Royal Tank Regiment. The regiment’s remaining twenty-four operational A13s had diminished to seventeen runners due to mechanical wear exacerbated by their long advance from Egypt on their own tracks. The battle on the 2nd April has rarely been reported during the last seven decades and yet eleven A13s committed to the battle were able to inflict losses on the approaching mass of panzers from II. Panzer Regiment 5 sufficient to cause one of their crew members to note:
Unidentified Panzer Crewman’s diary entry dated 3rd April 1941
“Yesterday we had a terrifying experience in action against British tanks near Agedabia. Our casualties were considerable”
(WO 169/1414 5th R.T.R’s War Diary)
Although only three panzers were totally written off in this exchange of fire, the above quote indicates that many more were struck by the 5th's 2-Pdr A.P. Shot. 5th R.T.R. lost five A13s and five officers and eighteen other ranks in the fire fight (WO 169/1414). The 2nd April action includes 26 pages of detail covering the fighting.
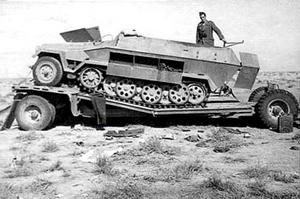
The retreat of 2nd Armoured Division and 20th Brigade in particular, is marked by hours of tough fighting, followed by many hours without ground contact as they moved back and avoided being cut off. The exception was the stand made at Mechili during the 6th - 8th April (outlined below) but even there, half of those present, including elements of 3rd Indian Motor Brigade, escaped capture. The fighting and the retreats are marked by the surprisingly few vehicles lost to Axis fighter and bomber attacks, and the incidents of those aircraft being driven off, damaged and shot down by ground fire.
The speed of the British and Australian retreat further encouraged the rapidity of the Axis advance, and from the 3rd April Panzer Regiment 5 experienced a gradually rising number of mechanical breakdowns. The retreat was primarily enabled by the practiced organisation and methods of the Royal Army Service Corps, Australian Army Service Corps and the Royal Indian Army Service Corps who dropped supplies on routes of retreat and lifted troops out of danger.
The troops were partly benefitting from the desert motoring experiences, exploring and mapping undertaken by the Light Car Patrols of World War One, and the inter-war explorations of Major Ralph Bagnold and his fellow officer friends. Those techniques and skills were advanced during the 1930s by the armoured car crews of the 11th Hussars and the 12th Royal Lancers in conjunction with the Royal Signals and Royal Army Service Corps. Their skills included communicating by vehicle mounted wirelesses over long distances, including as far as London. Much was yet to be taught to units new to the desert, but knowledge was generally growing.The 3rd April was a day of almost no ground contact but included much re-organisation of German and Italian forward units, readied to probe each route east across the desert. The first and only Australian battle during the retreat was on the 4th April at Er Regima. It was an epic stand made by the 2/13th Battalion of 20th Brigade supported by the four 18 Pounders and four 4.5-inch Howitzers of 203 Battery from 51st (Westmoreland and Cumberland Yeomanry) Field Regiment. 2/13th Battalion was finally evacuated that night by lorries of an R.A.S.C. Company whose drivers were mostly Cypriot volunteers. The detail of Er Regima is covered on 16 pages.
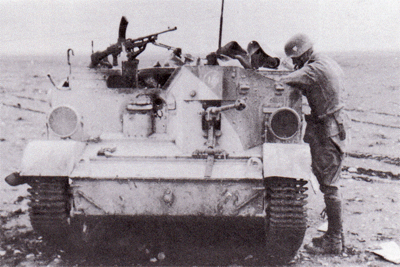
There were small actions during the 5th and 6th which are similarly covered, but the next most significant action was at Derna where light elements of Gruppe Ponath (including elements from Maschinengewehr Bataillon 8, armoured cars from Aufklärungs Abteilung 3 and other supporting troops) clashed with the 1st King’s Royal Rifle Corps, 1st Tower Hamlets Rifles, ‘B/O’ Battery 1st R.H.A. and ‘J’ Battery 3rd R.H.A. A day long series of rearguard actions covered the retreat of 2nd Support Group, 3rd Armoured Brigade and some elements of the Australian 20th and 26th Brigades. The last part of this rearguard saw the ‘B’ Echelon of the 5th R.T.R. dismount and steadily return the fire of the surviving German attackers. The detail of this battle is covered on 17 pages.
Mechili was the junction of at least five desert tracks and the area where 2nd Armoured Division intended to temporarily hold the open desert flank of Australians positions south from Wadi Cuff and/or a line of positions from Derna. The limited heavy weapons available to British and Australian troops and the poor mechanical state of the tanks of 3rd Armoured Brigade led to the Australians continuing their retreat. The state of 2nd Support Group and 3rd Armoured Brigade was such that they were also unable to give any support to the Forward and Rear Divisional H.Q units of 2nd Armoured Division that had arrived at Mechili and had come under the protection of forward units of the 3rd Indian Motor Brigade.
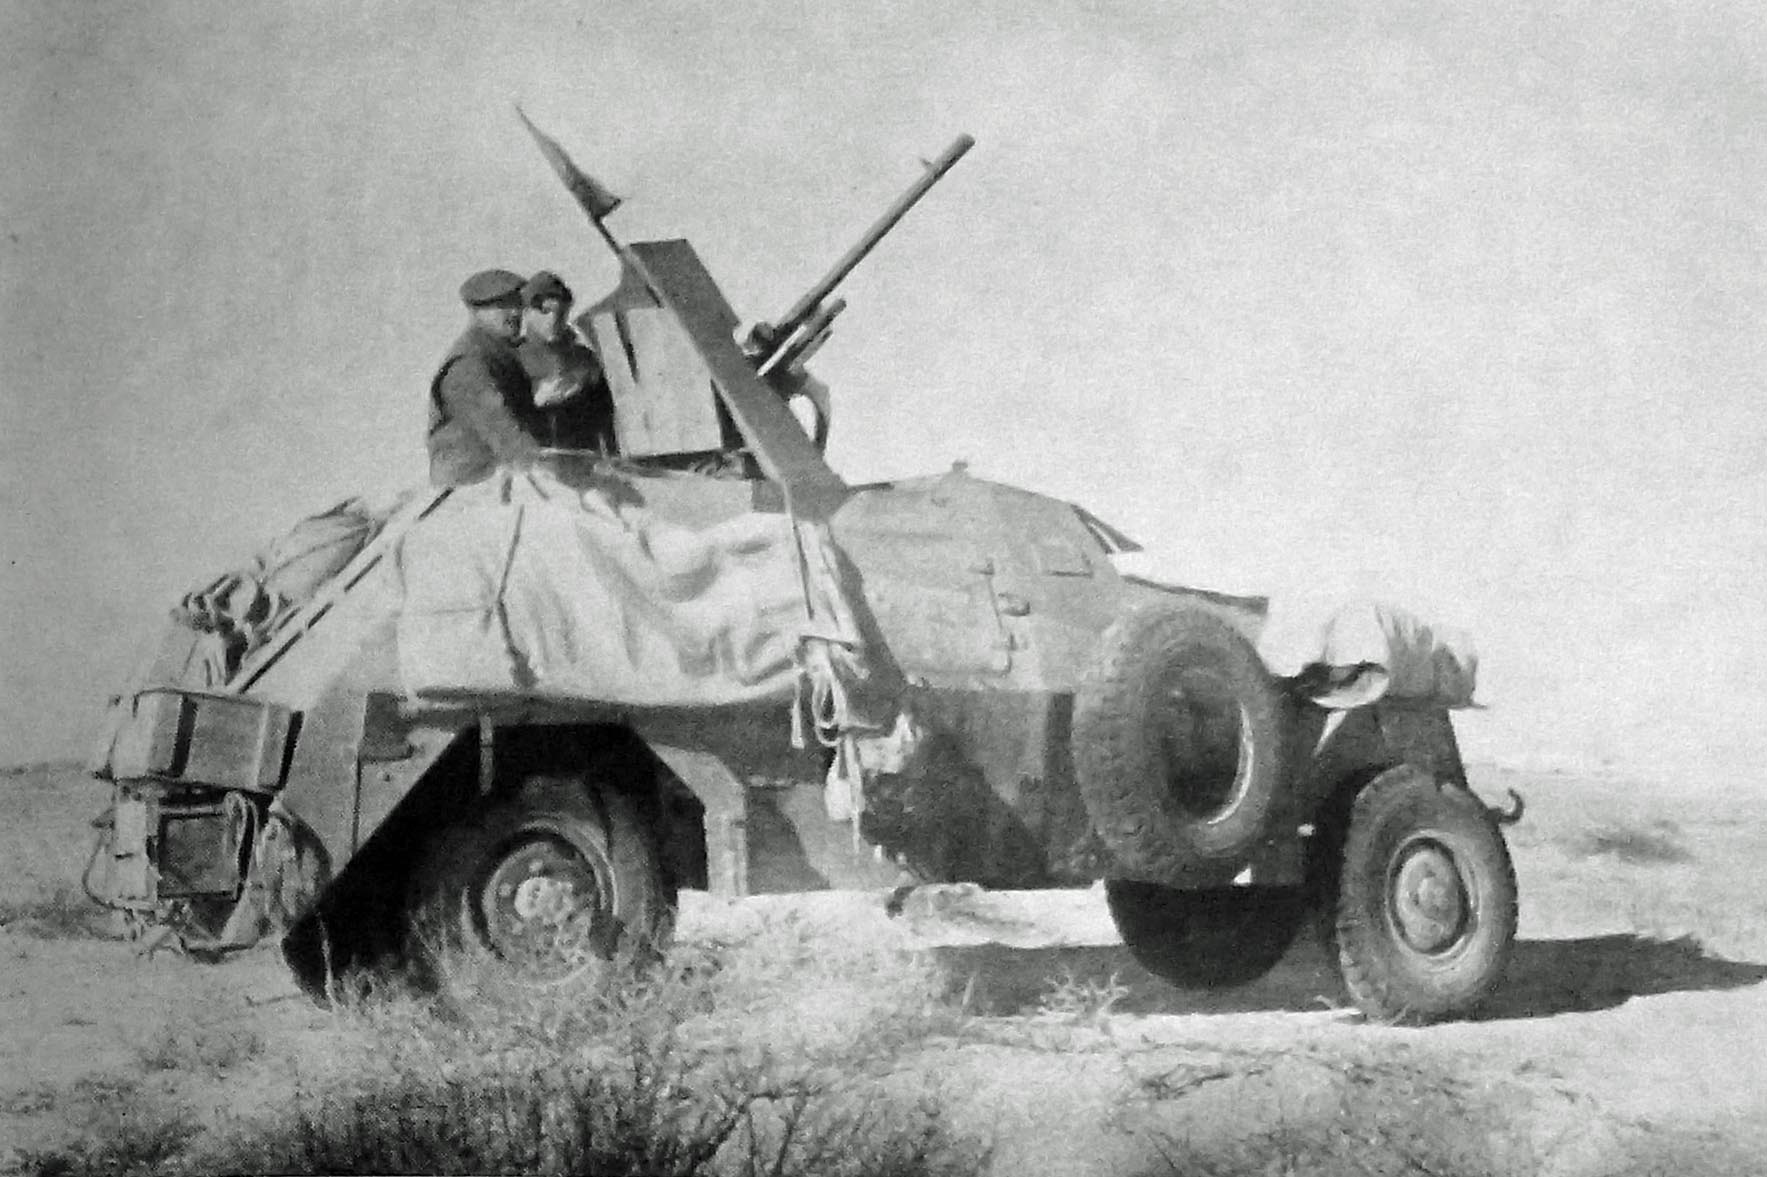
The Battle of Mechili began on the 6th April with skirmishing but rose in extent during the 7th , and with Mechili surrounded the battle ended in an organised escape early on the 8th April when all units formed a box formation intending to charge through what were thought to be Italian positions. The leading troops of the box eliminated the gun crews of an Italian battery with small arms fire and hand to hand fighting, but the remainder were unable to get past the weight of fire ripping through their soft-skinned vehicles. Some of these men escaped during the subsequent German and Italian attack, and also during the surrender using the cover of raised dust, smoke and initial confusion to get out and drive towards Tobruk or the Egyptian border. The fighting at Mechili and the breakout and withdrawal is covered in detail on 14 pages.
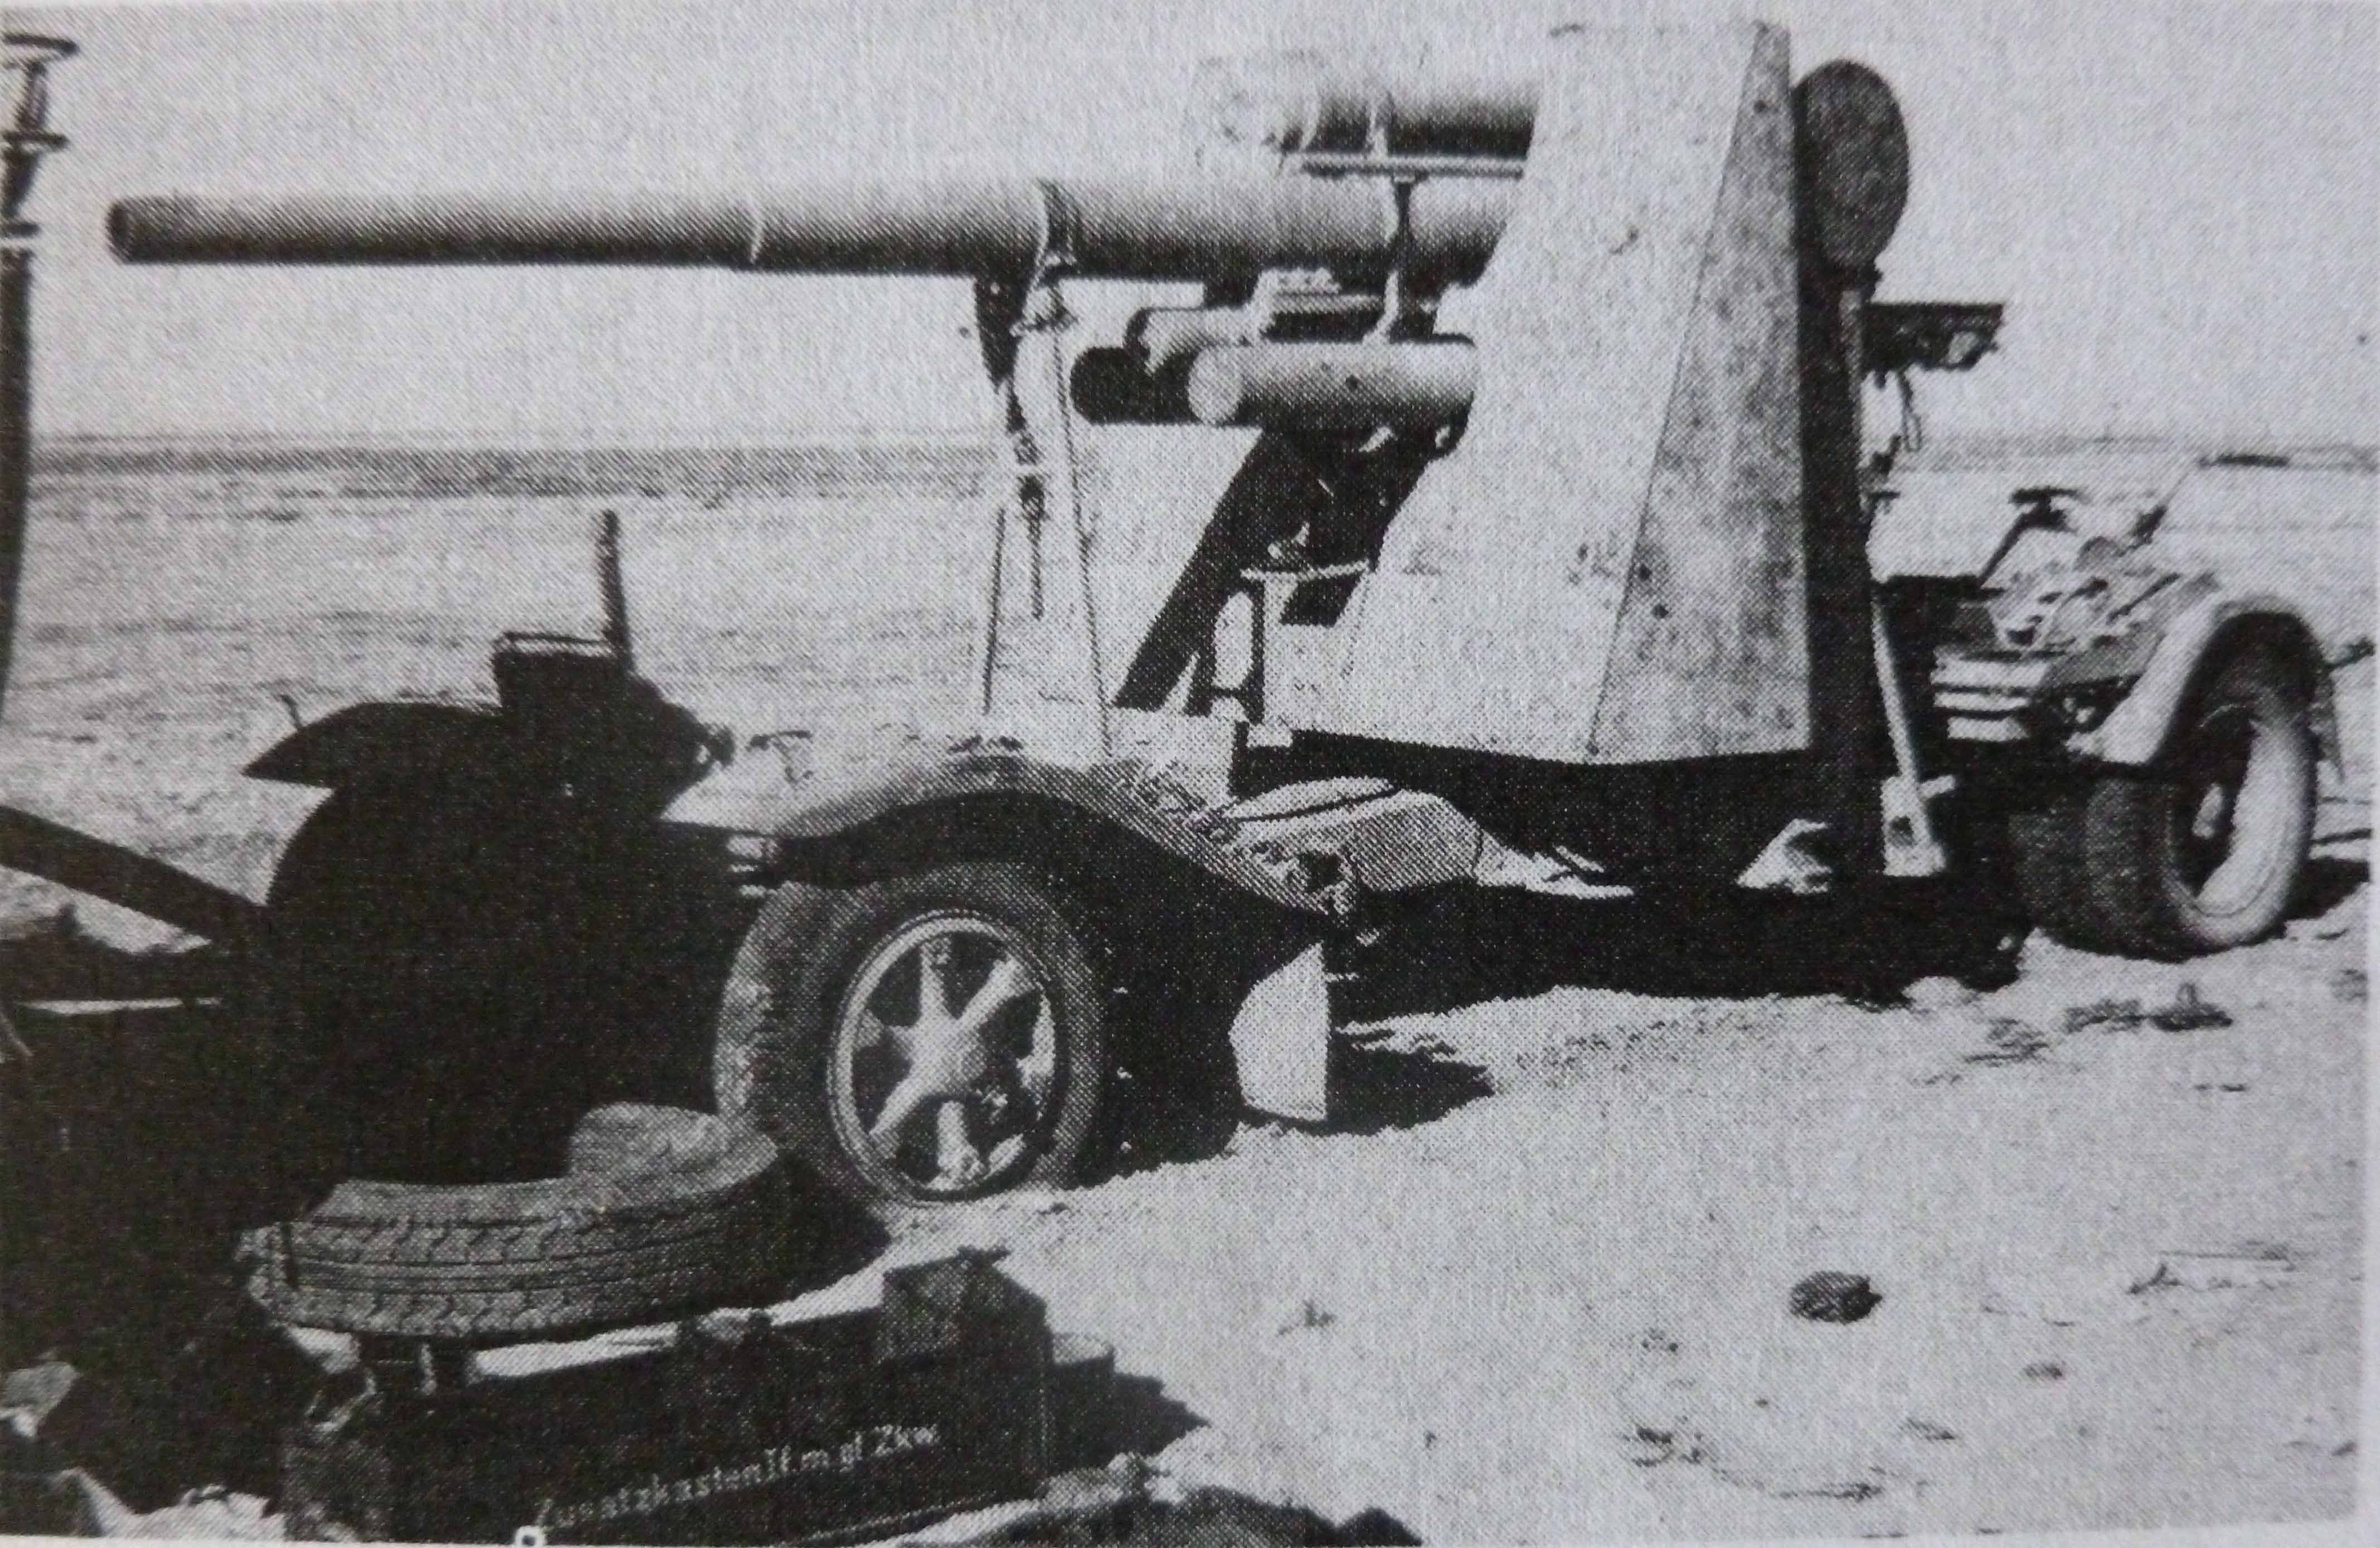
The fighting at Tobruk between the 9th April – 15th May is covered in the same depth of war diary and eye witness detail on 140 pages. The 51st Field Regiment, and the 104th and 1st R.H.As remained inside the perimeter, and they were joined by the 25-Pdrs of the 107th R.H.A. (South Nottinghamshire Hussars). The four regiments were dug-in to positions that produced very damaging concentrations of indirect and direct fire upon the Axis attacks that approached and overran the infantry holding the perimeter. The arrival of 3rd Armoured Brigade without operational tanks saw the 3rd Hussars and 5th R.T.R. form a composite regiment equipped with the Cruisers and Light Tanks already at Tobruk, and these were soon reinforced by the Cruisers and Light Tanks of 1st R.T.R. and a Troop of four A12 Matilda IIs of the 4th R.T.R. A week later, the Matilda IIs of ‘D’ Squadron 7th R.T.R. also joined them. These few tanks were nevertheless able to provide a back stop to the defence and suffered few losses in the weeks that followed the beginning of the Siege of Tobruk.
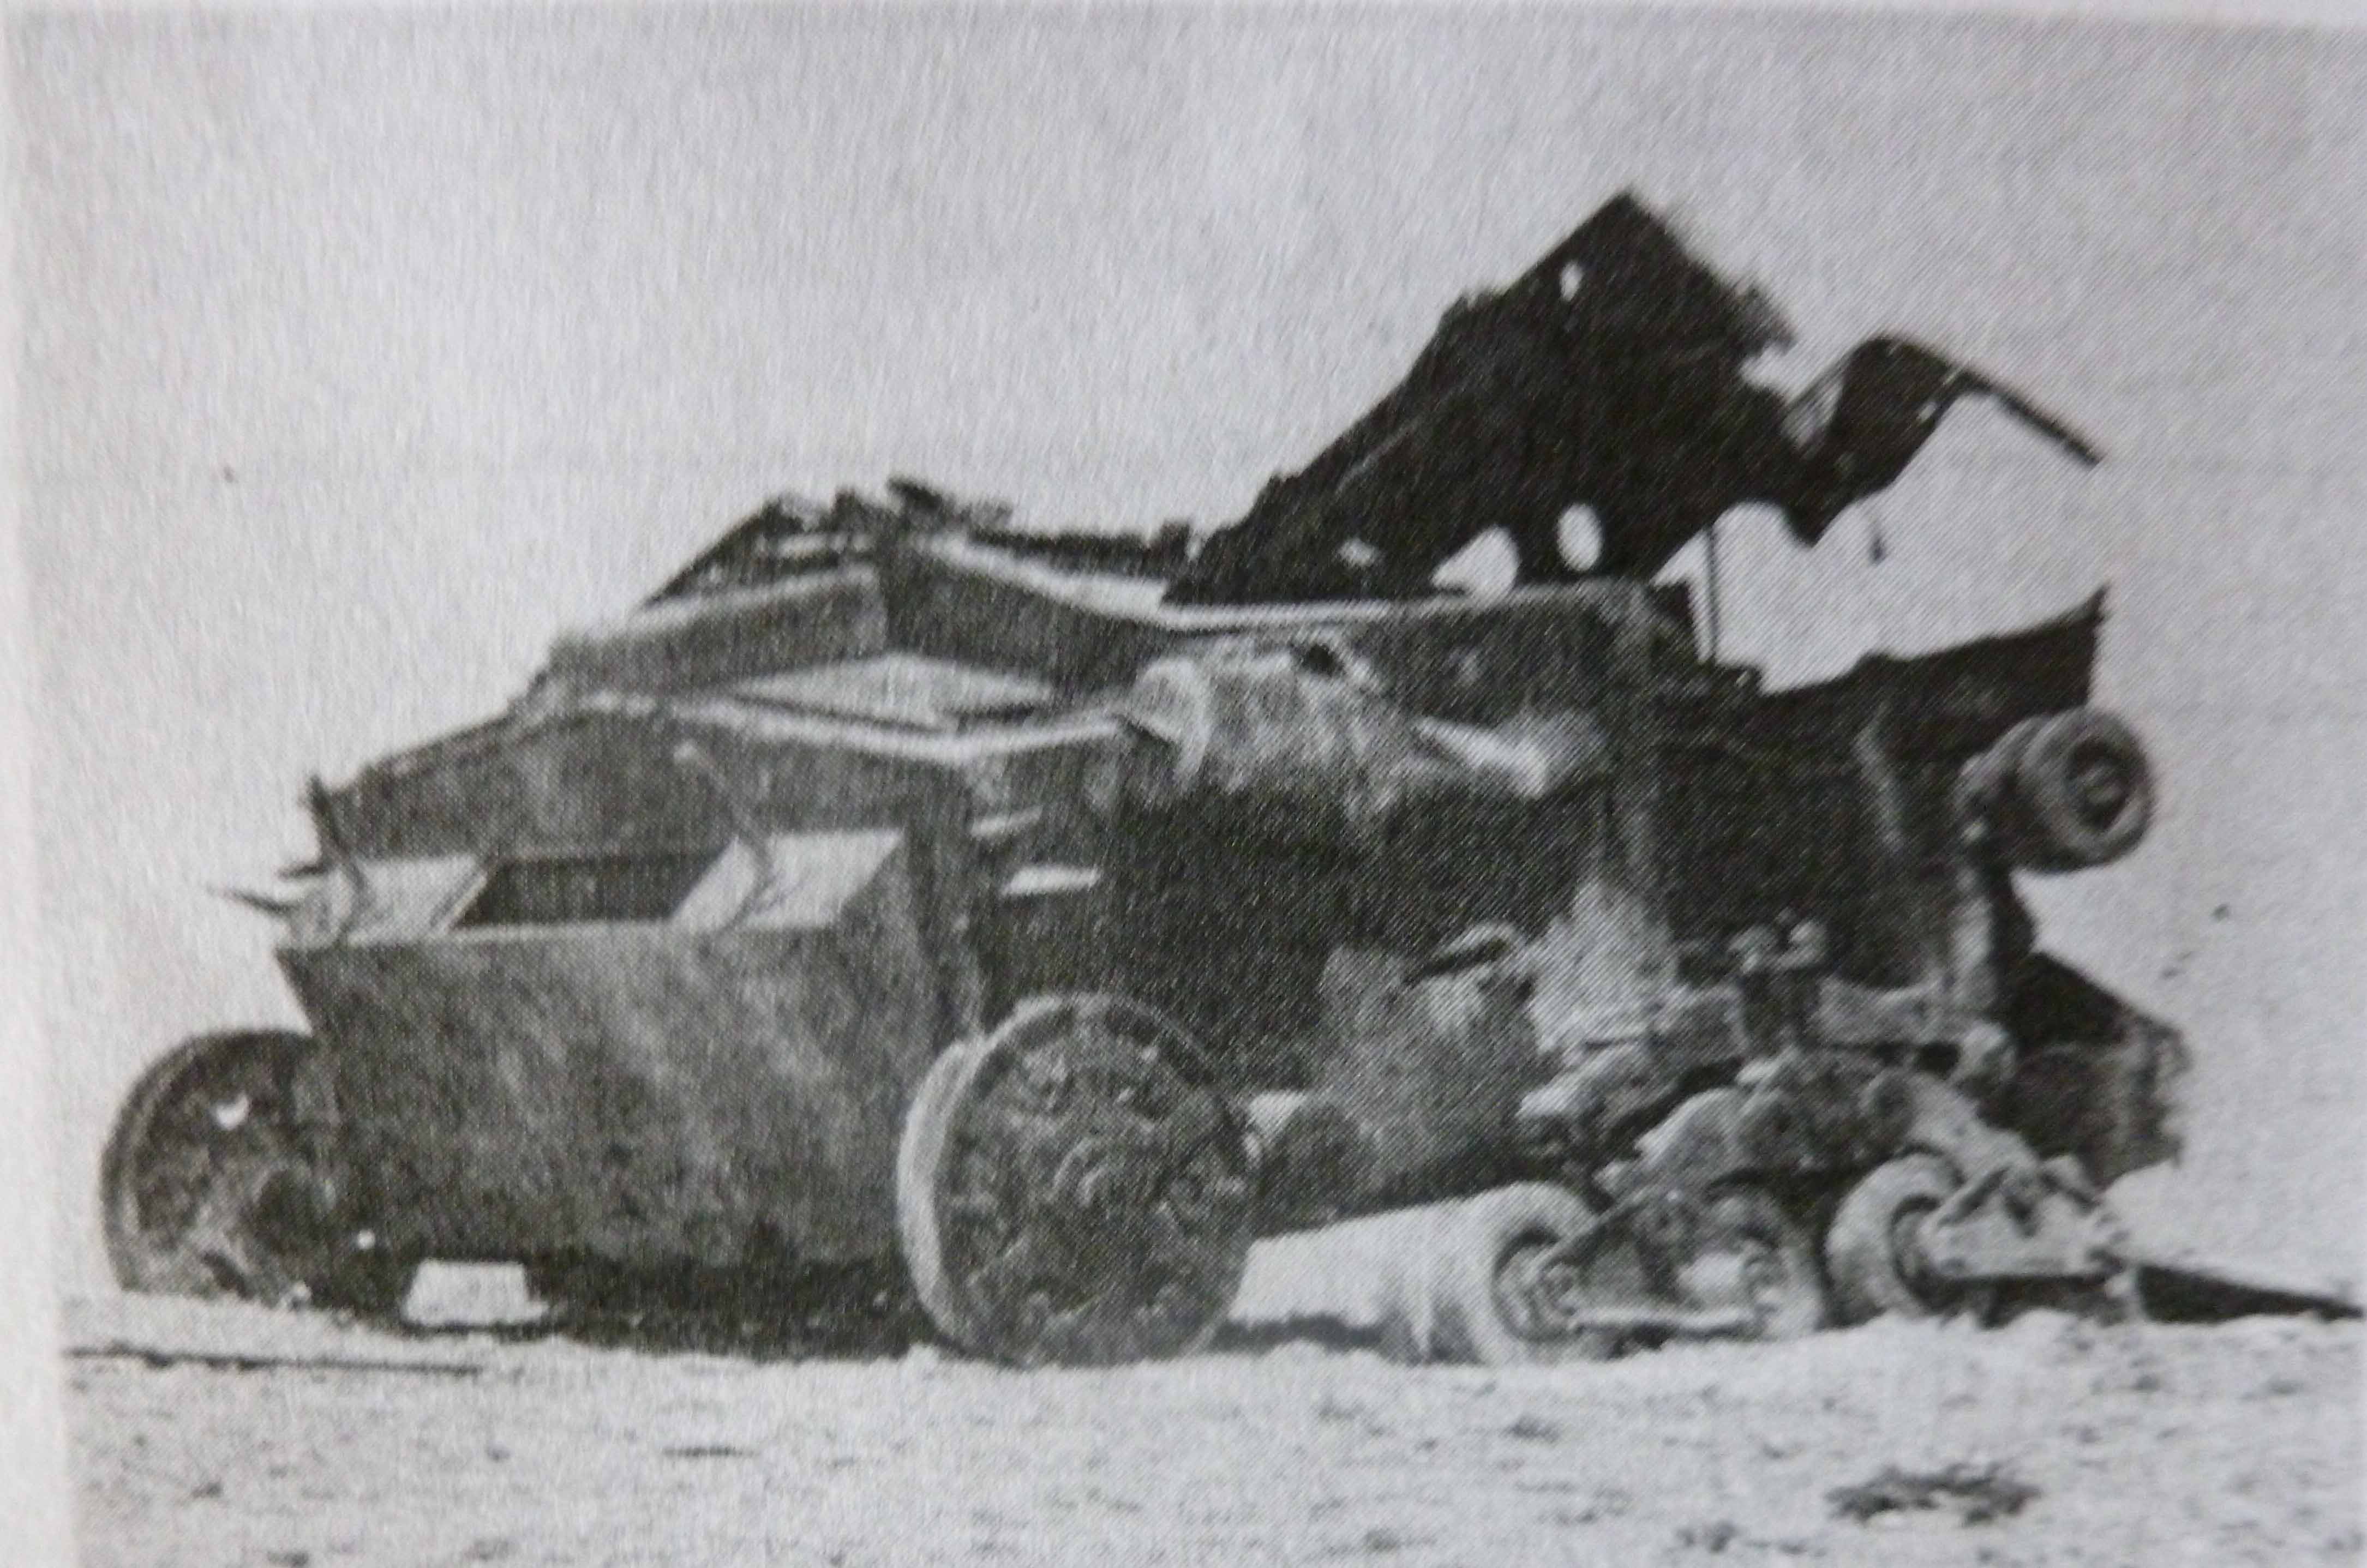
The last part of Volume 1 covers the detail of the fighting beyond Tobruk in the Libyan – Egyptian border area and the formation of the last mobile elements of 2nd Support Group H.Q. and 1st Tower Hamlets Rifles leaving Tobruk to join the 1st K.R.R.C. and the already present 1st T.H.R. group, the 4th Regiment, Royal Horse Artillery, ‘D’ Battery, 3rd R.H.A., and the armoured cars of the 11th Hussars under the command of Brigadier W. H. E. (‘Strafer’) Gott. These units formed a temporary force referred to as “the Support Group” and later as “the Mobile Force”. After bombarding the German assault on the perimeter on the 11th April the Support Group retreated to the Libyan – Egyptian border where they were joined by other elements of Brigadier Gott’s 7th Support Group, the 22nd Guards Brigade, and the Light Tanks of ‘B’ Squadron of the 7th Hussars. The action that followed between the 11th April – 15th May in combat with German and Italian units was significant, and Volume 1 includes many details of the fire fights and small battles at the border that have been largely ignored in the build up to Operation BREVITY.
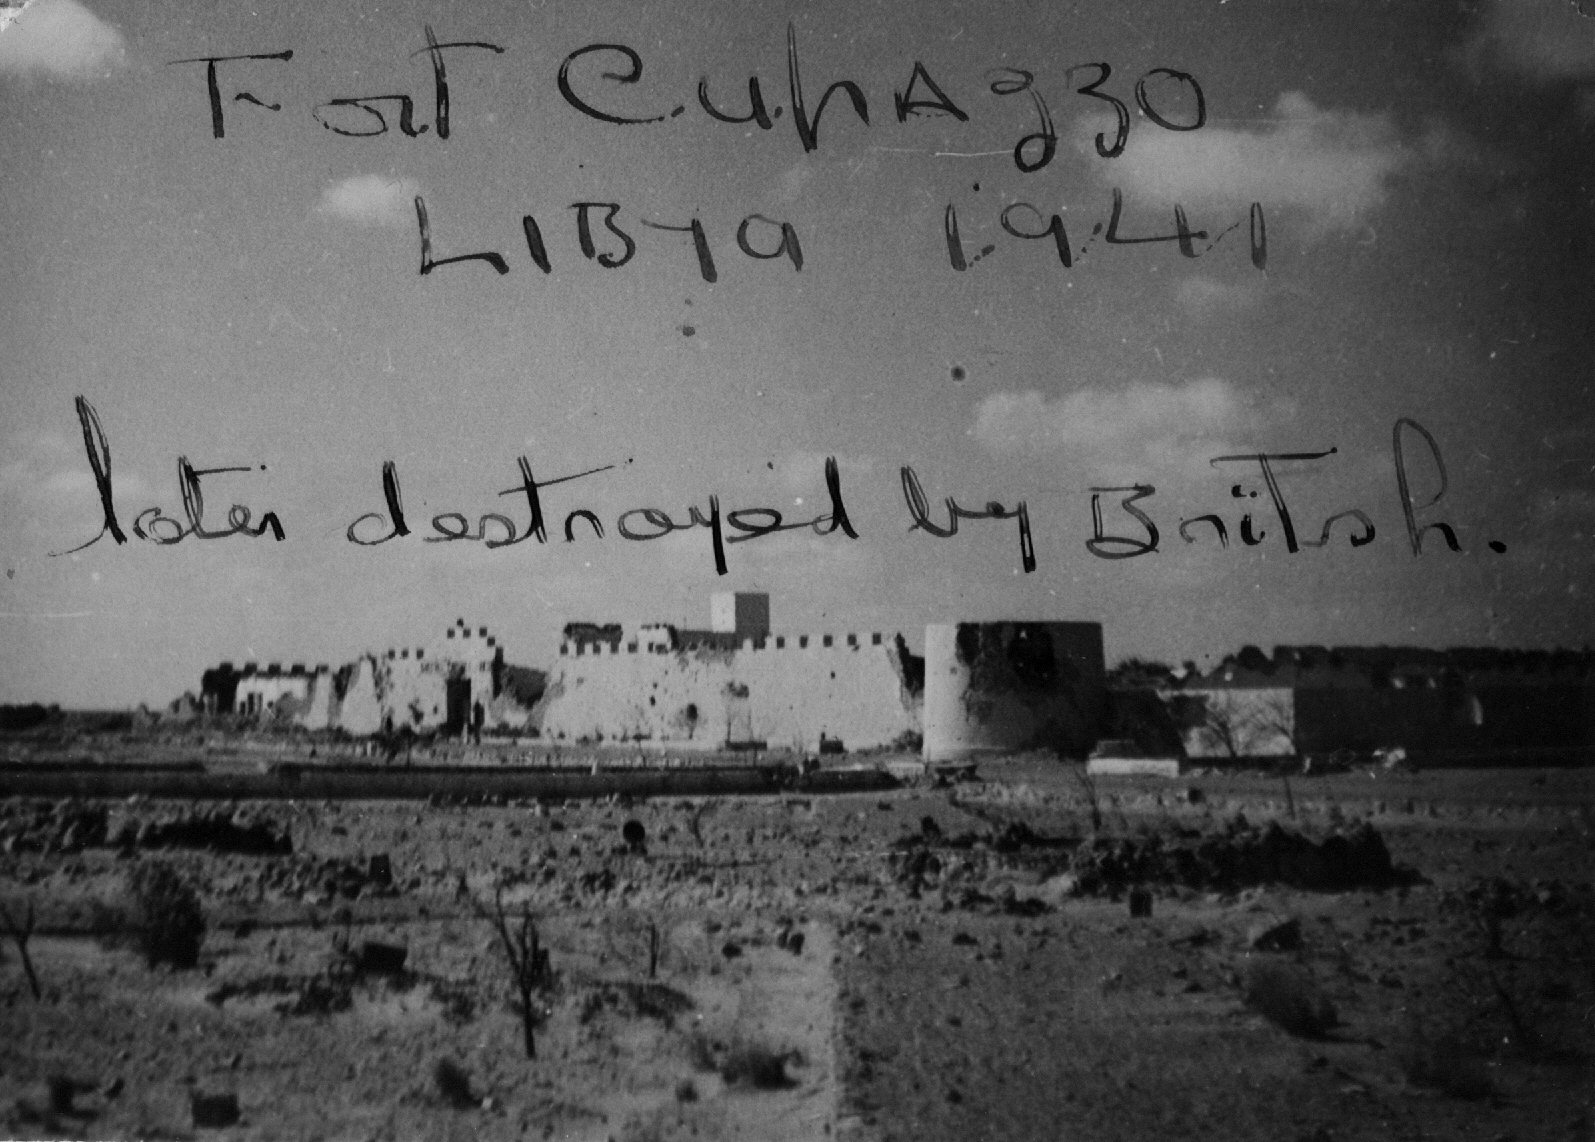 Fort Capuzzo, Libya, close to the border, photographed in 1941 by Mr Joe A. Willis of No. 6 Squadron, R.A.F.
 Copyright: Mr Joe A. Willis. Use courtesy of Mr Joe Willis: www.joewillis.co.uk
Although the Axis troops could seize areas of the desert they suffered a series of losses in various very mobile engagements. A comment on the fighting on the 11th May was recorded thus in the Deutsches Afrikakorps Kriegstagebuch:
Deutsches Afrikakorps Kriegstagebuch, 12th May
The area was combed from south to north and the enemy cleaned out. Because of their great mobility and speed the British succeeded in evading decisive action and withdrawing the main body of their forces, apparently in the direction of Sidi Barrani.
(CAB 146/10 page 51)
The problems faced by Axis troops in dealing with mobile British and Australian units east of Tobruk had not improved since the 11th April. The few Australian units present were from the 6th, 7th and 9th Australian Divisions that had not been sent to Greece.
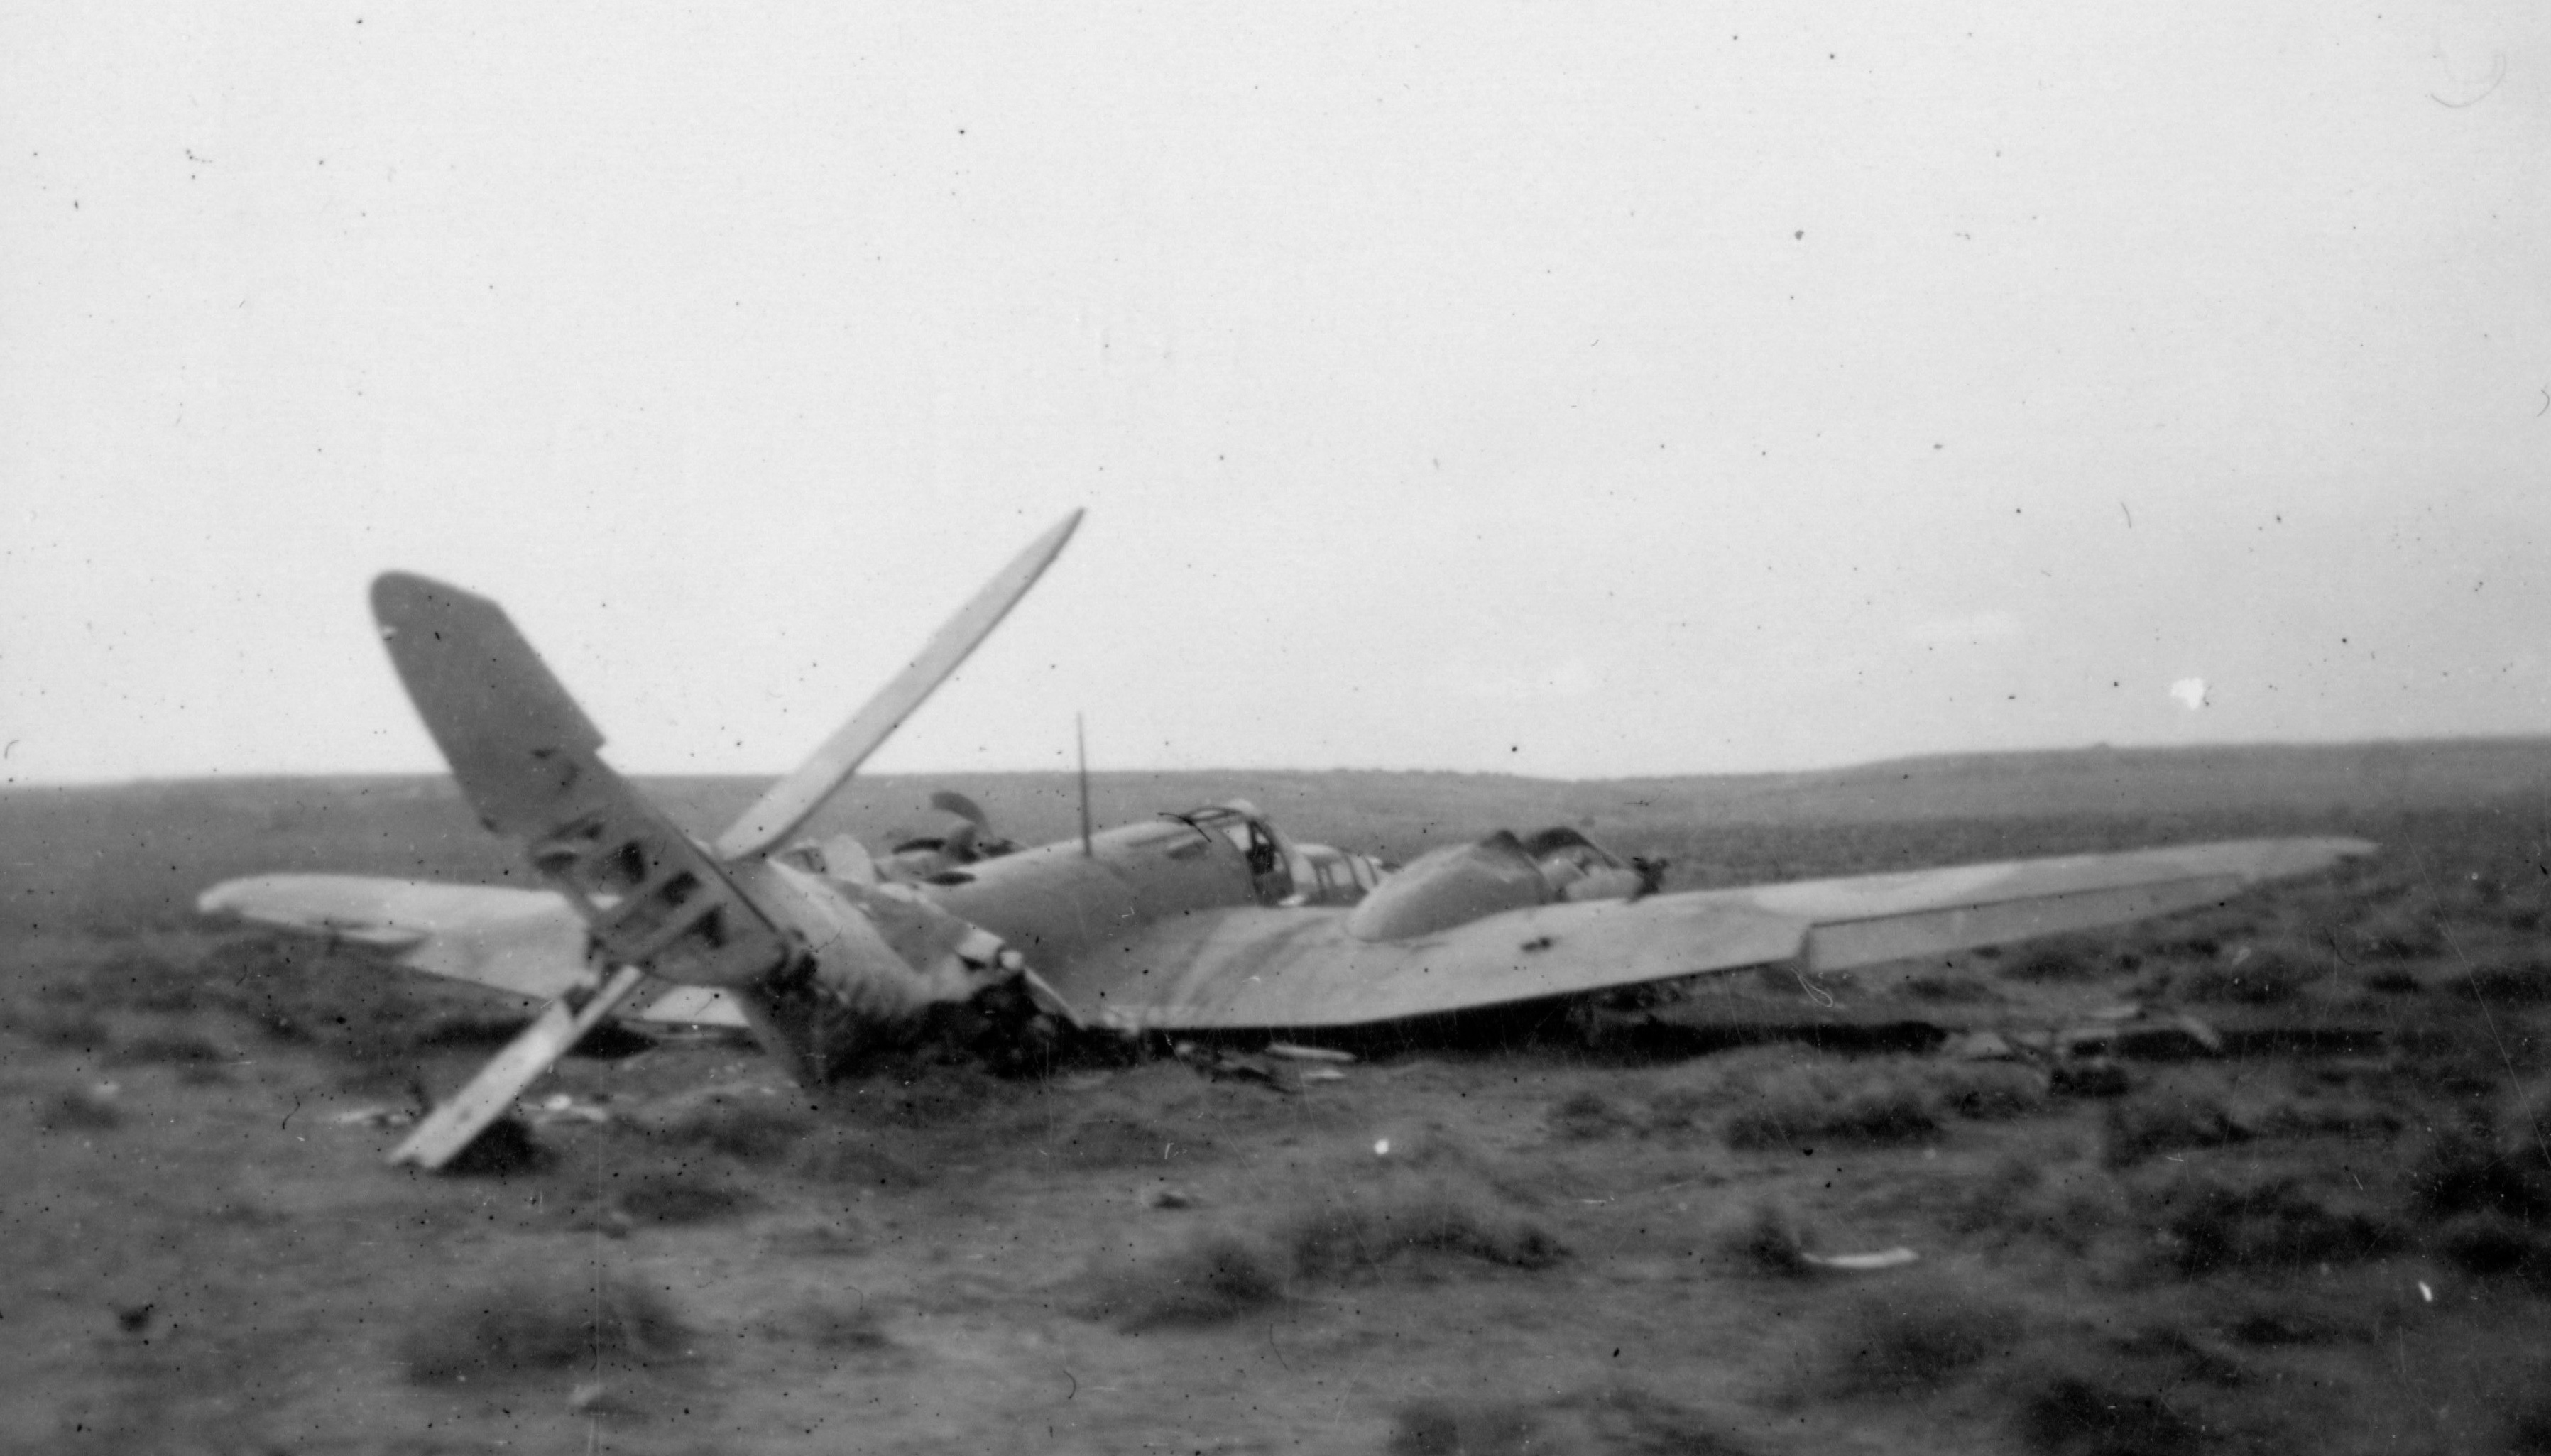
In this volume, Appendix C: Panzers Damaged in Battle provides a list of all the eyewitness accounts from both sides to examine the operational panzers available to Panzer Regiment 5 during the weeks covered by the volume. It features three columns: A: Panzer Behaviour Indicating Loss of Operation or Capture, B: Description indicates Panzers Probably Destroyed or Captured, and C: German references of Panzers Damaged. The data provides a means of comparison not previously produced.
And Appendix D: Panzers II, III and IV Landed compared to Operational and in Workshops in Libya up to the 15th June, provides a view of panzer numbers recorded as remaining with Panzer Regiment 5 and the figures underline the skills of the panzer crews and those of the D.A.K’s recovery and repair units.
Appendices C and D were compiled because many accounts of the early fighting in the desert against the Afrikakorps do not describe or reflect upon the numbers of panzers seen damaged in combat, but instead refer to German figures of the few panzers officially written-off as beyond repair. However, the dwindling numbers of operational panzers available for combat on any given day had an effect upon the outcome of the fighting and the numbers of panzers not seen in battle cannot be explained solely by mechanical breakdowns although there were many breakdowns during the advance to Tobruk.
See an introduction to the sixteen volume series: Series Introduction
Theatres covered by the series
Belgium and France 1940
North Africa
Sicily
Italy
North-West Europe 1944 - 1945
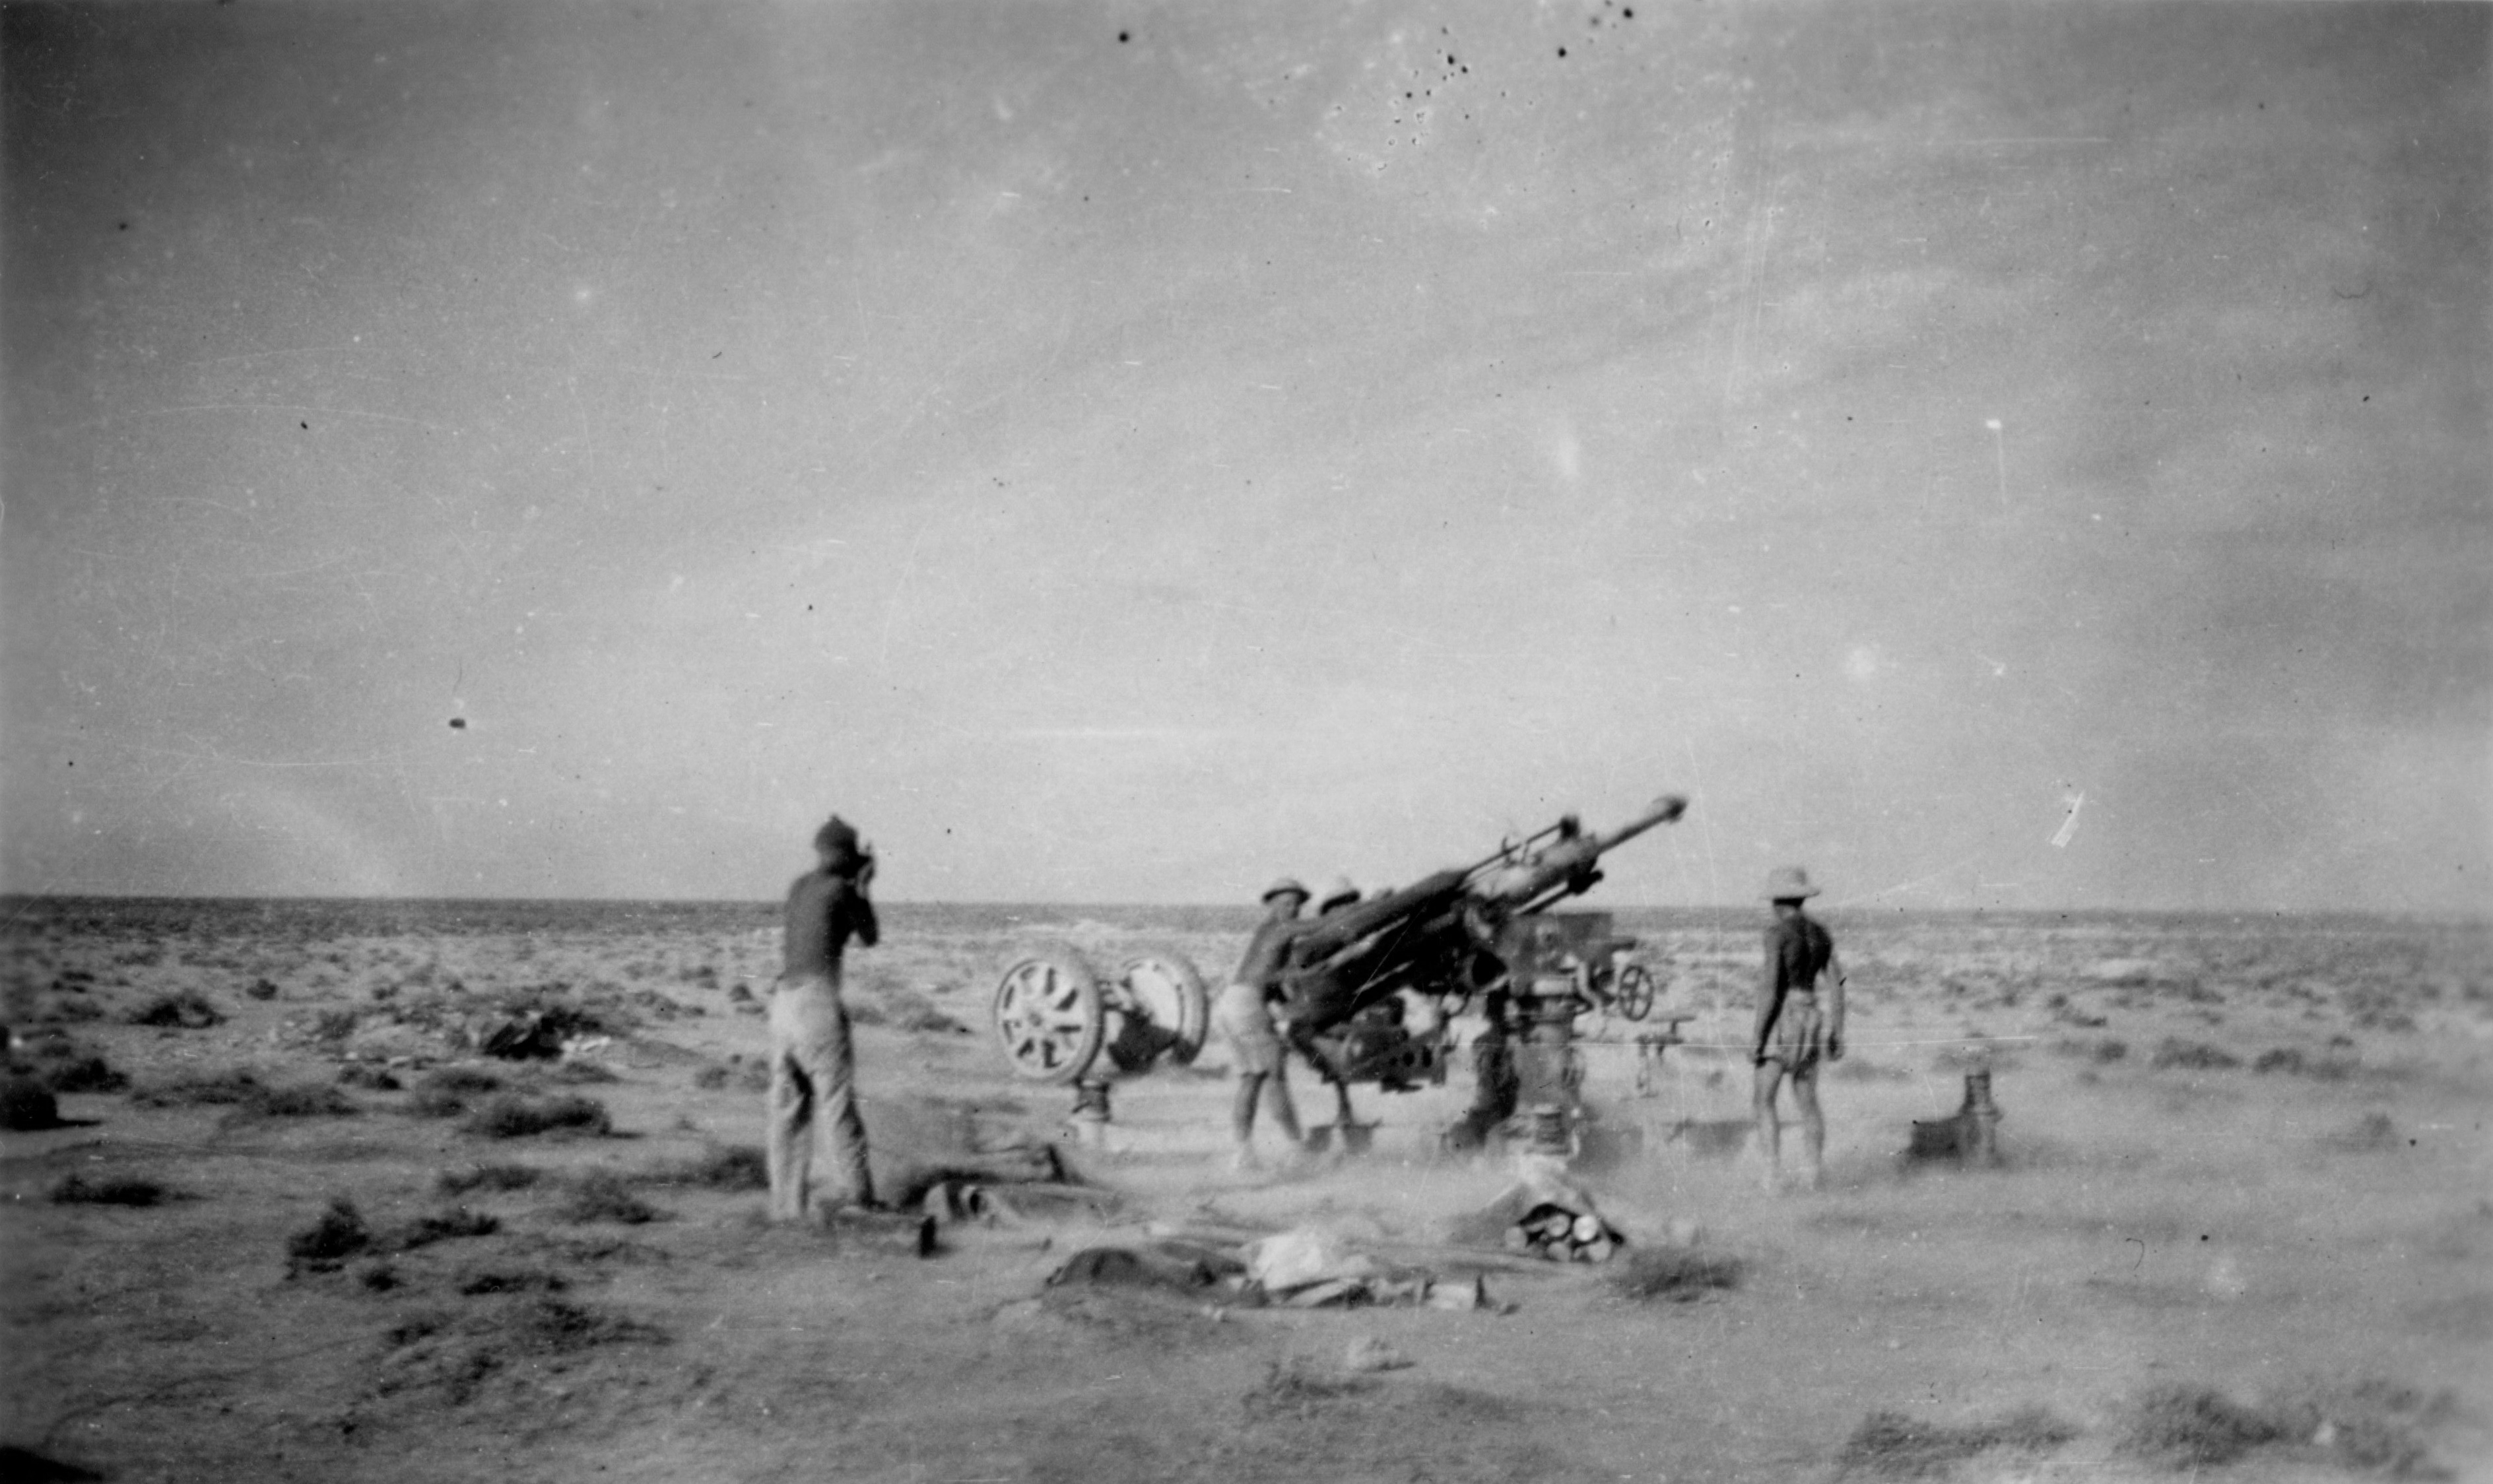
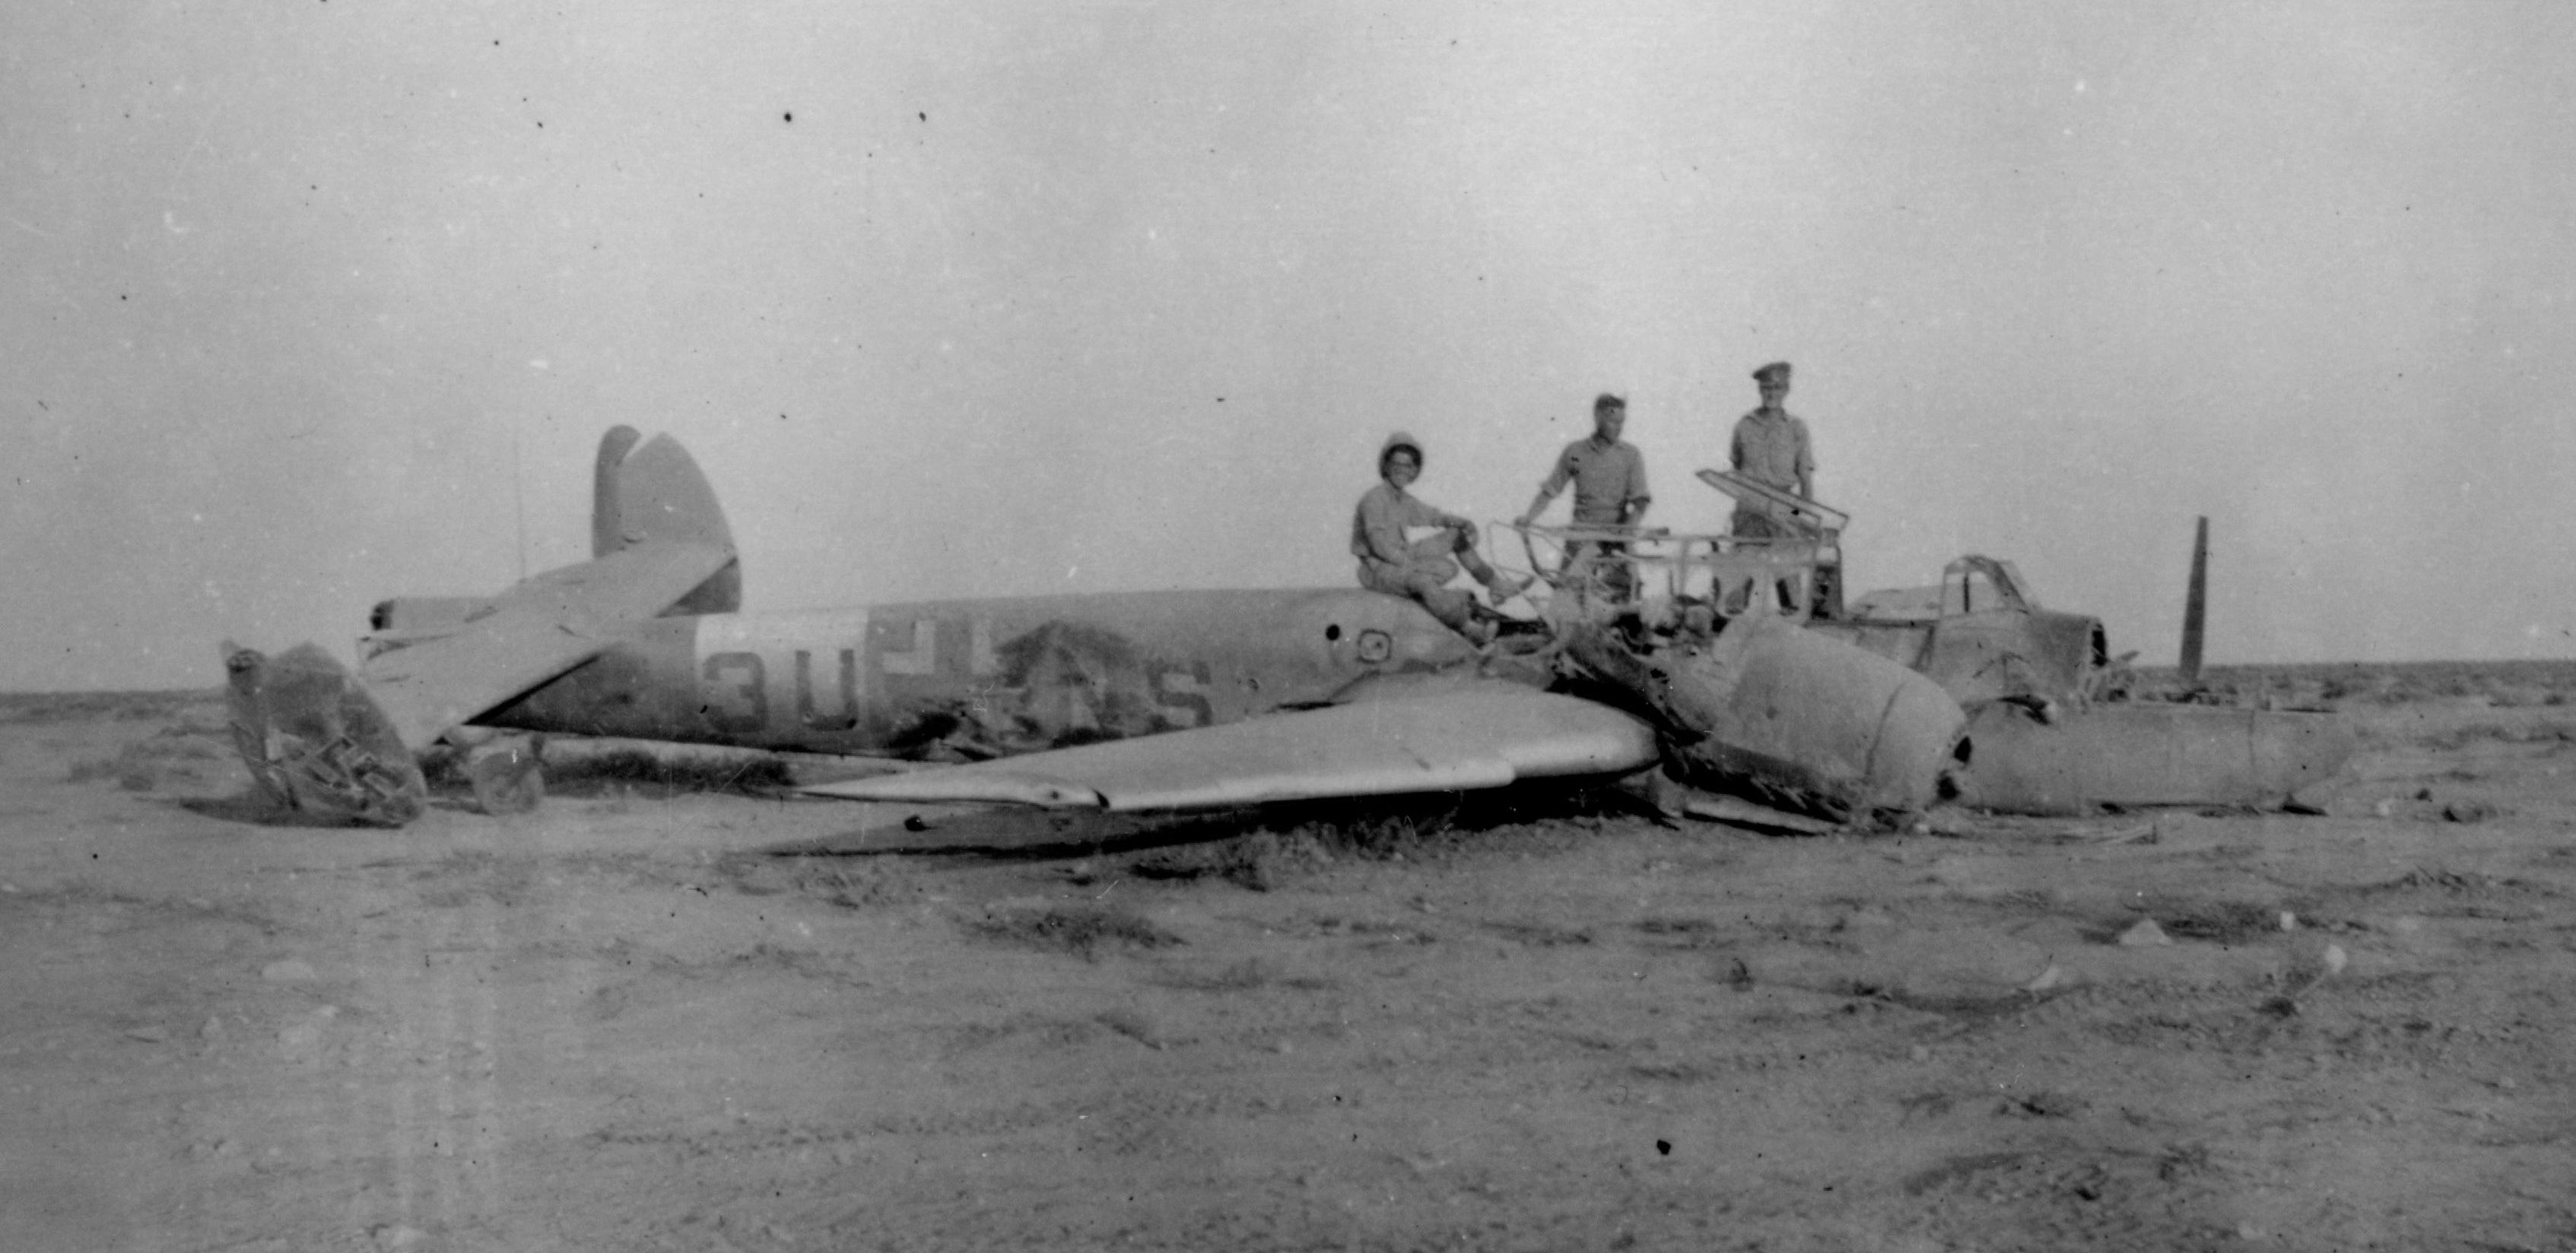
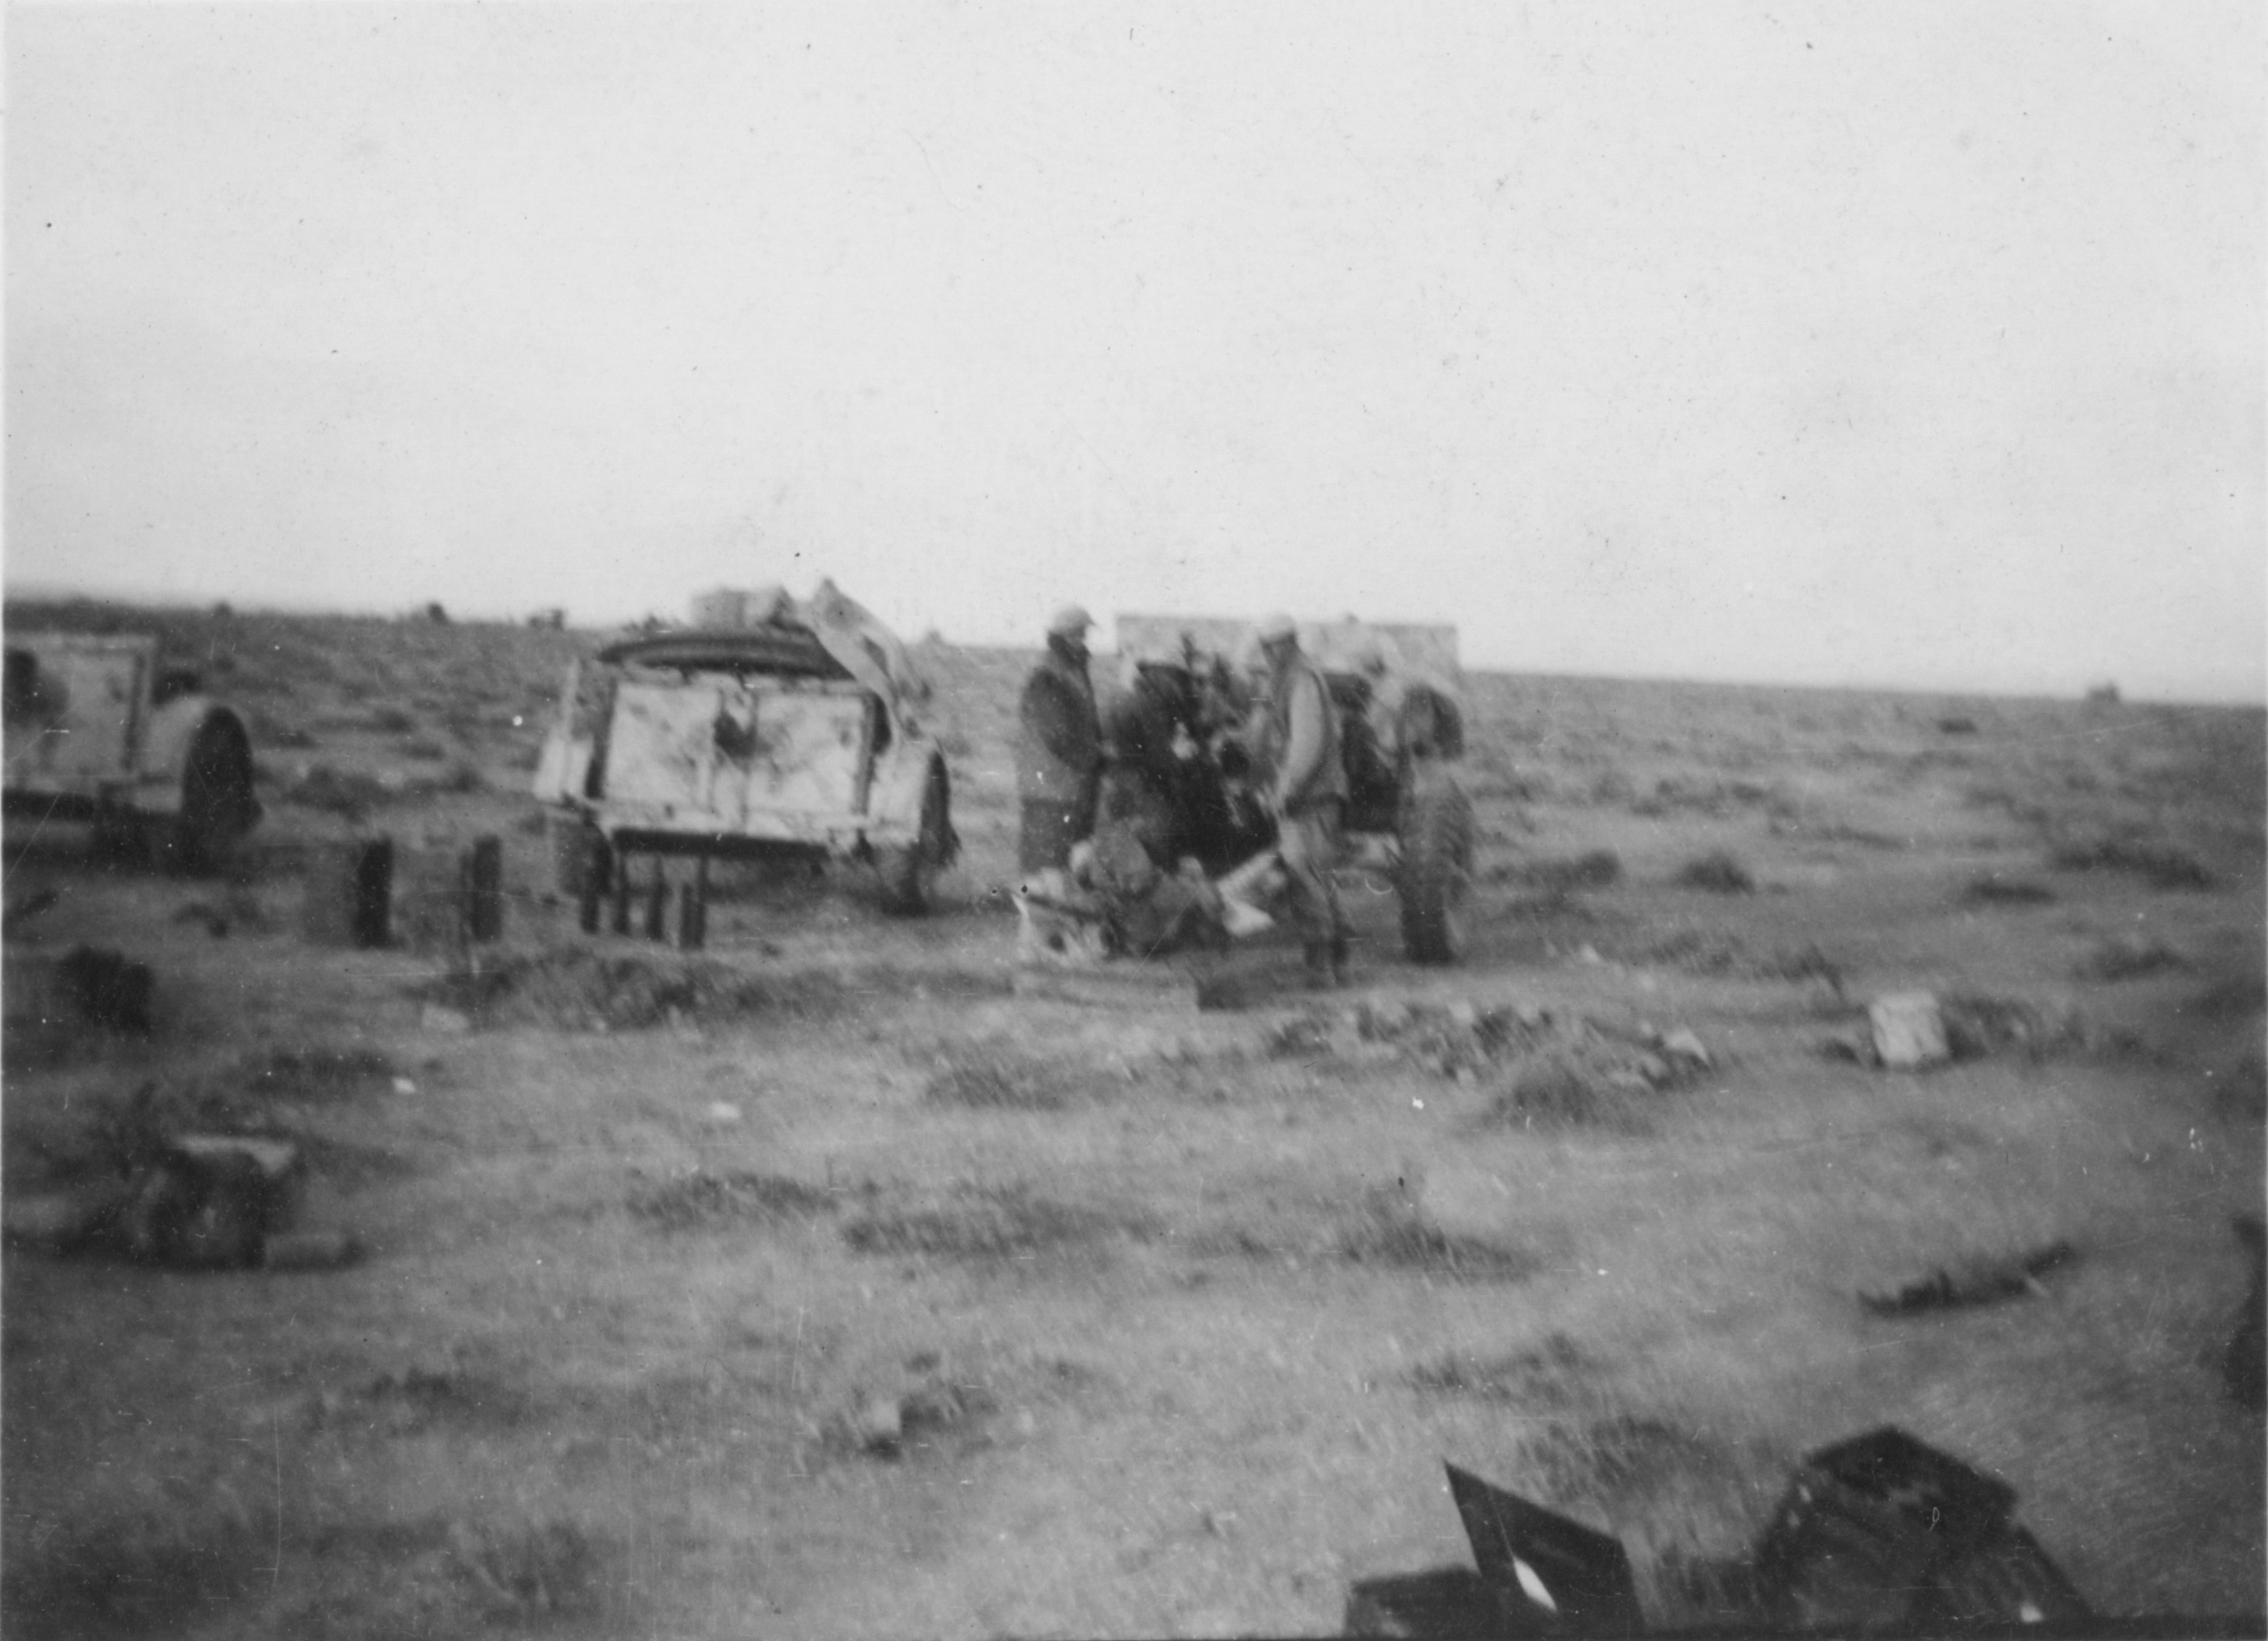
Photographs used courtesy of:
The Essex Regiment Museum
Chelmsford Museum
Oaklands Park
Moulsham
Street
Chelmsford
Essex
CM2 9AQ
Telephone: 01245 605700
museums@chelmsford.gov.uk
Mrs Gwen Payne holds the copyright of each of the above photographs.

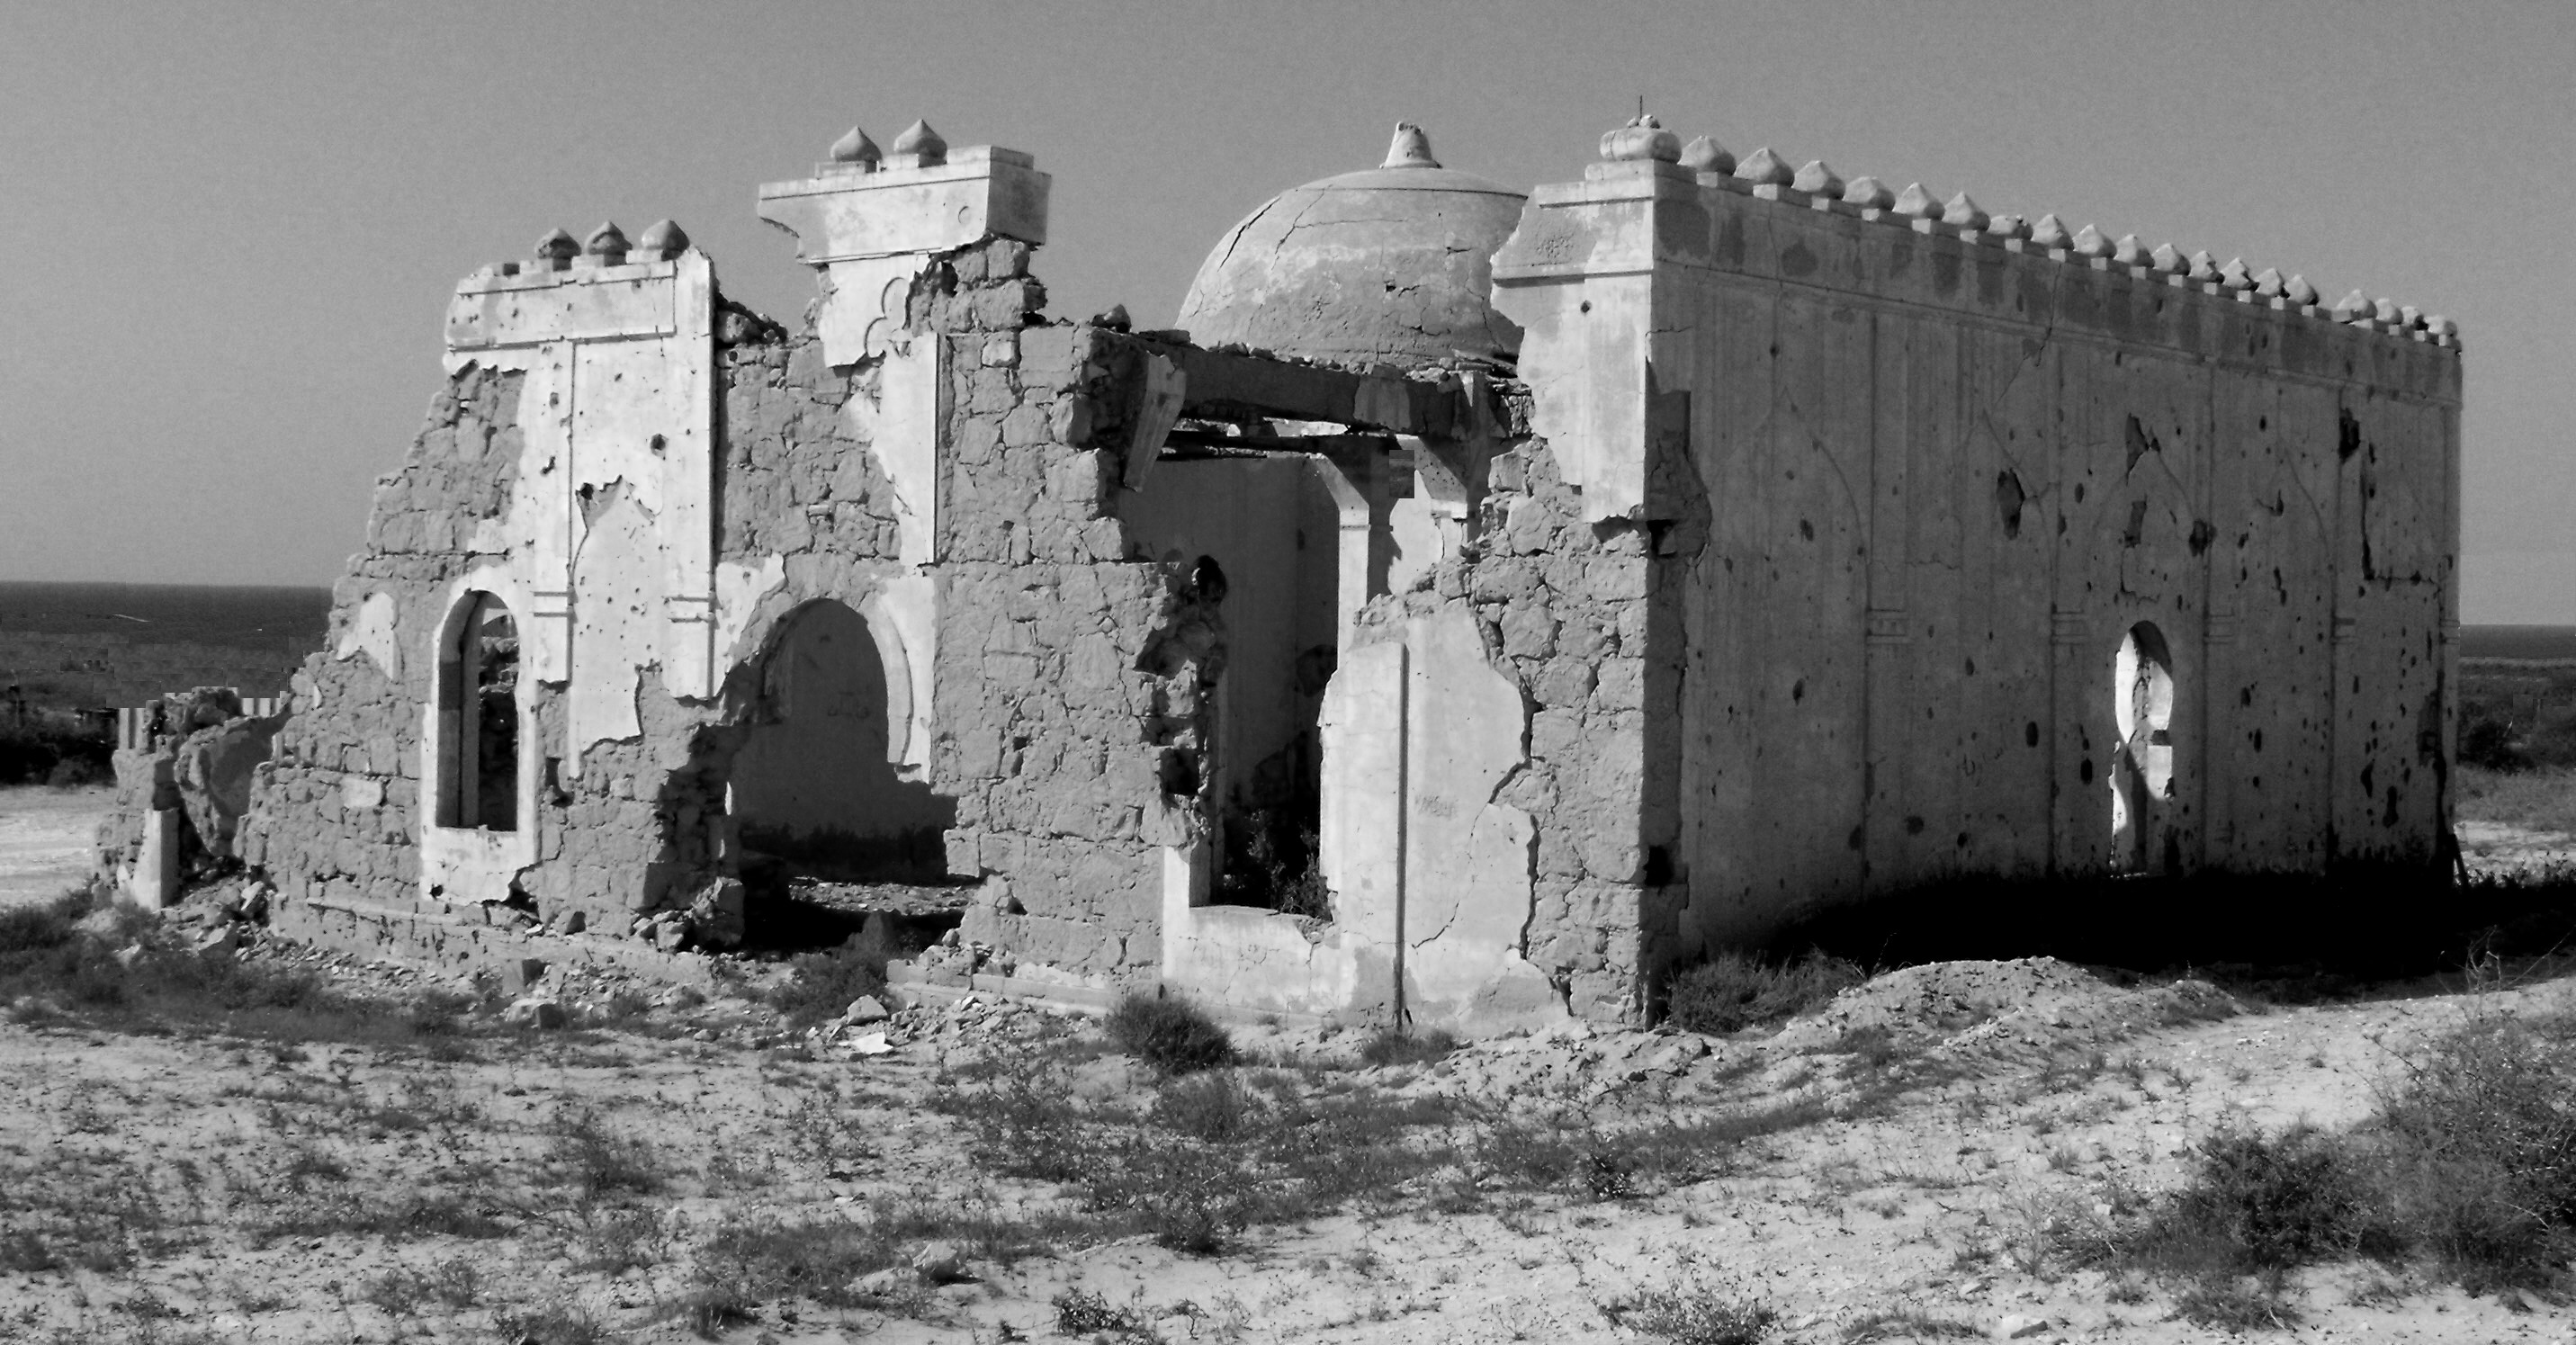 The Mosque at Mersa Brega. Photograph used courtesy of Andrew J. Pearse.
Museums and Archives
 The Institution of Royal Engineers
 The Royal Green Jackets (Rifles) Museum
 FIREPOWER The Royal Artillery Museum
 Fusiliers of Northumberland Museum
 The Queen's Royal Lancers and Nottinghamshire Yeomanry Museum
 Royal Engineers Museum
 The Tank Museum
 Essex Regiment Museum<
 Royal Logistics Corps Museum
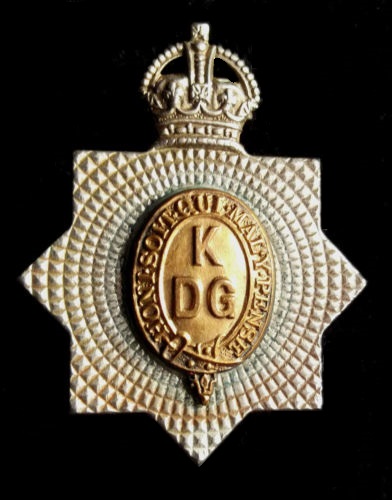 Queen's Dragoon Guards Museum
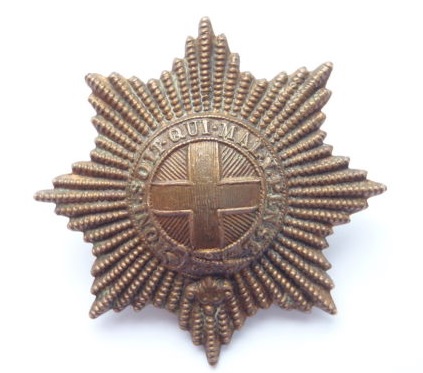 The Guards Museum
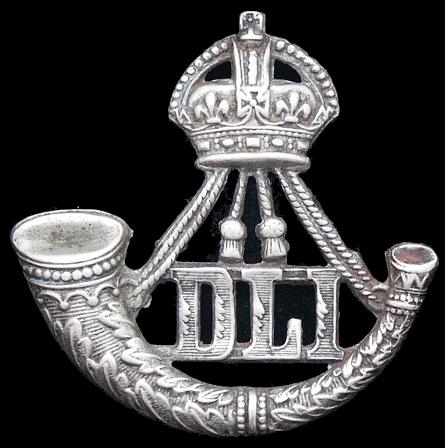 Durham Light Infantry Museum
 Royal Logistics Corps Museum
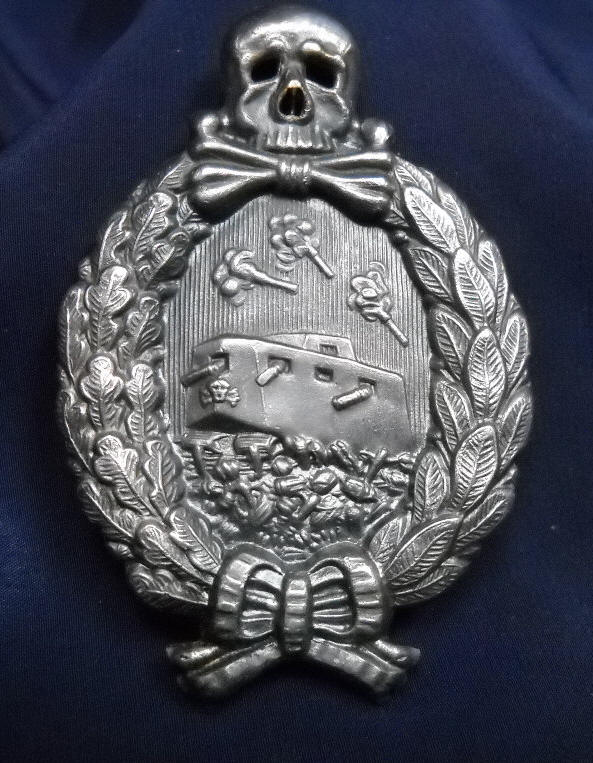 Deutsches Panzer Museum
 National Army Museum
 The National Archives